You planned and consulted. You made every decision, hired, waited, and survived installation. Now the dust has finally settled on your custom closet remodel.
If you didn’t have time to tackle it beforehand, here are a few to-dos before you move everything back in.
1. The post-install wardrobe clean out.
Many people prefer to spring clean a wardrobe before the remodel begins. But if you were busy or wanted to wait and see your final results, no worries.
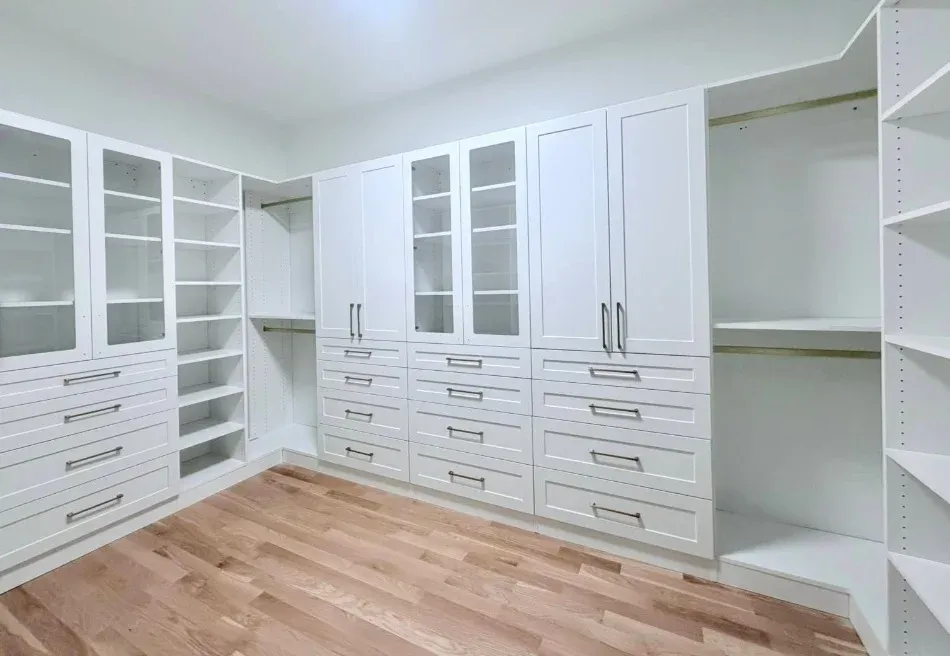
Do not move into your new dream closet–yet.
Having a clean, empty, gorgeous new closet sheds new light on what you own. The first order of business is to keep your remodeled zone empty. Gather everything you would normally put in that closet and pile it up in one spot.
Make three piles: Keep, donate, and toss.
It’s easier to be honest about what you like when you have a custom closet to put it in. Go through the pile item by item and sort it into one of three categories.
-
Keep. These are your favorite and most used items that will be in your new closet. As you edit, set aside items that don’t belong in a personal closet, even if you’re keeping them.
-
Donate. Items in decent shape that can go to the local Goodwill or other thrift store. Bag those items up right away and put them by the door or in your trunk.
-
Toss. Throw away anything with stains, mildew, tears that won’t be repaired, excessive pilling, or blown-out elastic. Broken shoes and busted bracelets aren’t staying, either.
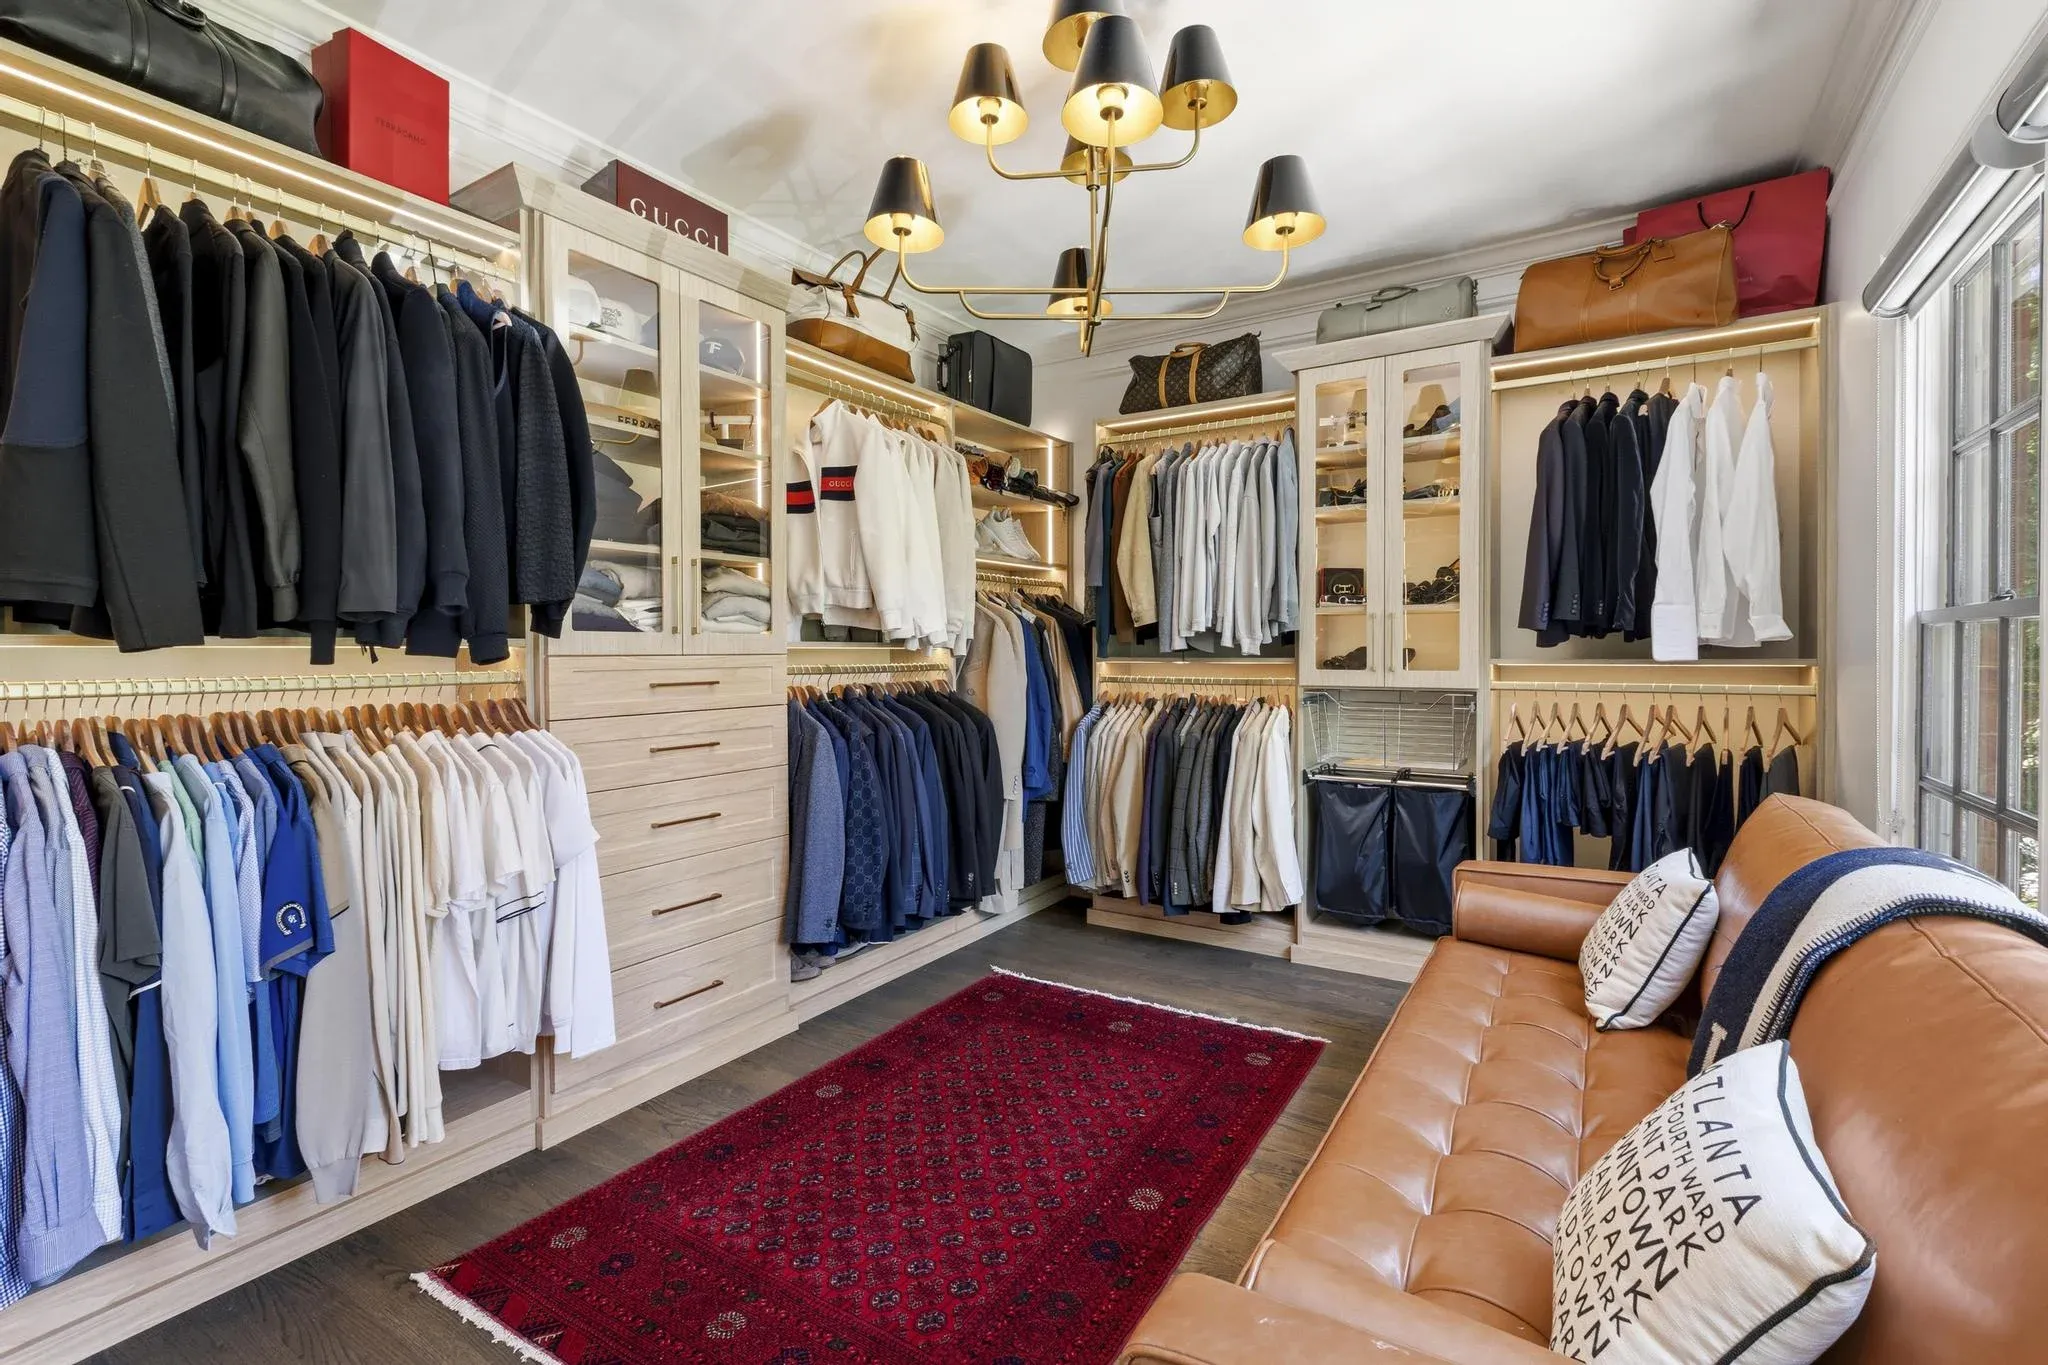
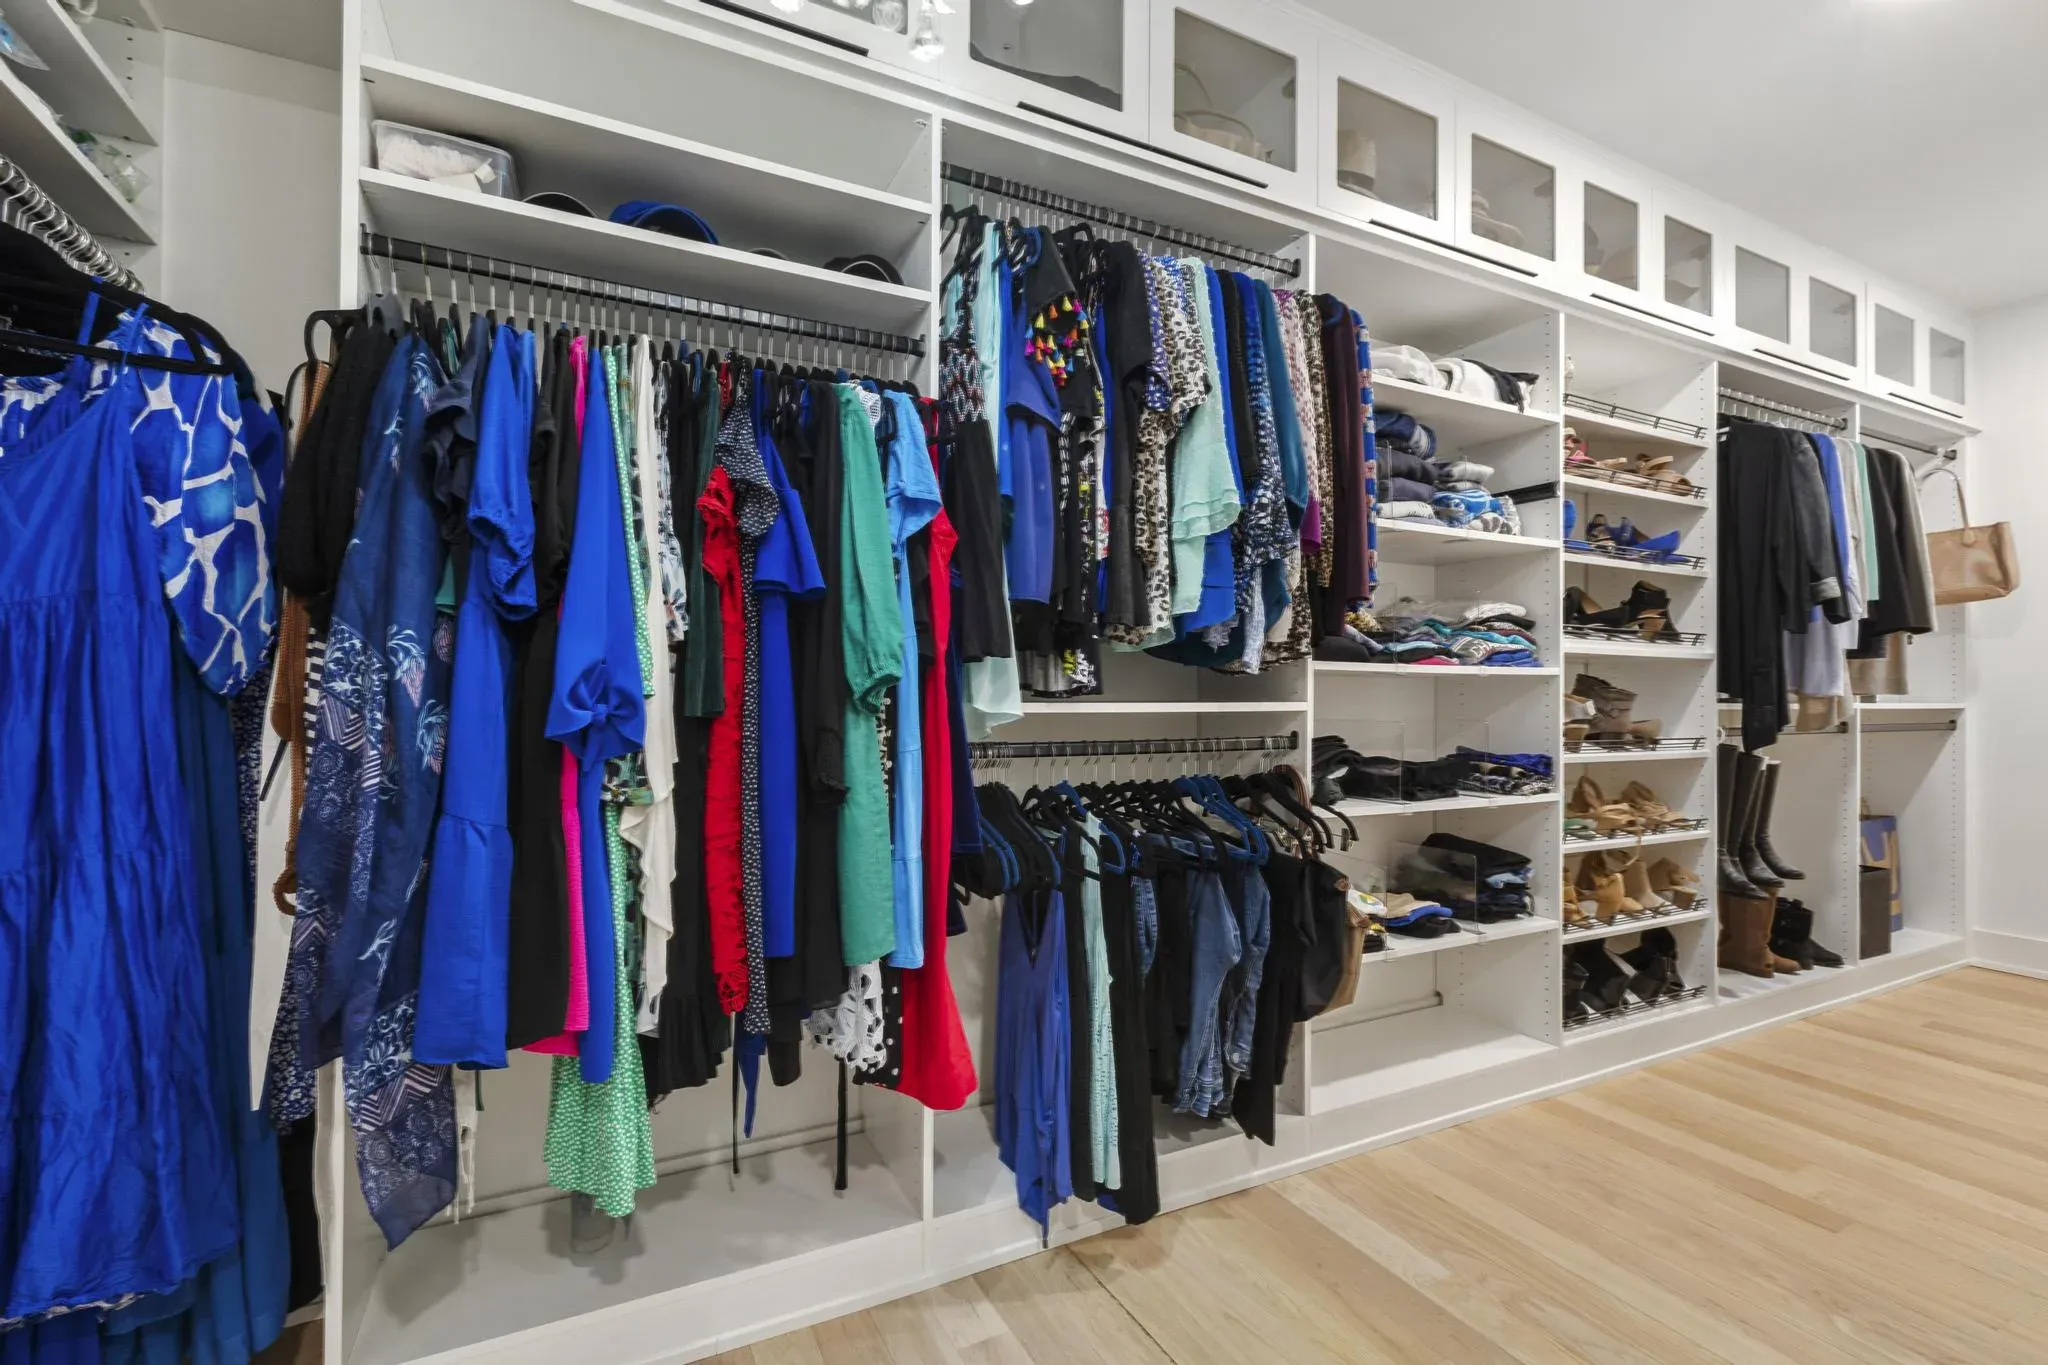
2. Move-in day! Become a pro at closet organization.
After a closet remodel, wipe everything down. Ensure your lighting fixtures, full-length mirrors, and other mainstay features are good to go. With a few packs of fresh hangers ready, it’s time to move everything back in.
What to put in drawers:
-
Heavy sweaters and knits
-
Activewear, loungewear, t-shirt collections
-
Undergarments and socks
-
Denim jeans (can hang if there is available space, some also prefer shelves)
What belongs on hangers:
-
Anything made of silk, linen, or rayon
-
Structured clothing like blazers, creased trousers, blouses, and button-downs
-
Long dresses, skirts, and coats
-
Clothing you’d like to wear more often (display these as sizzle pieces)
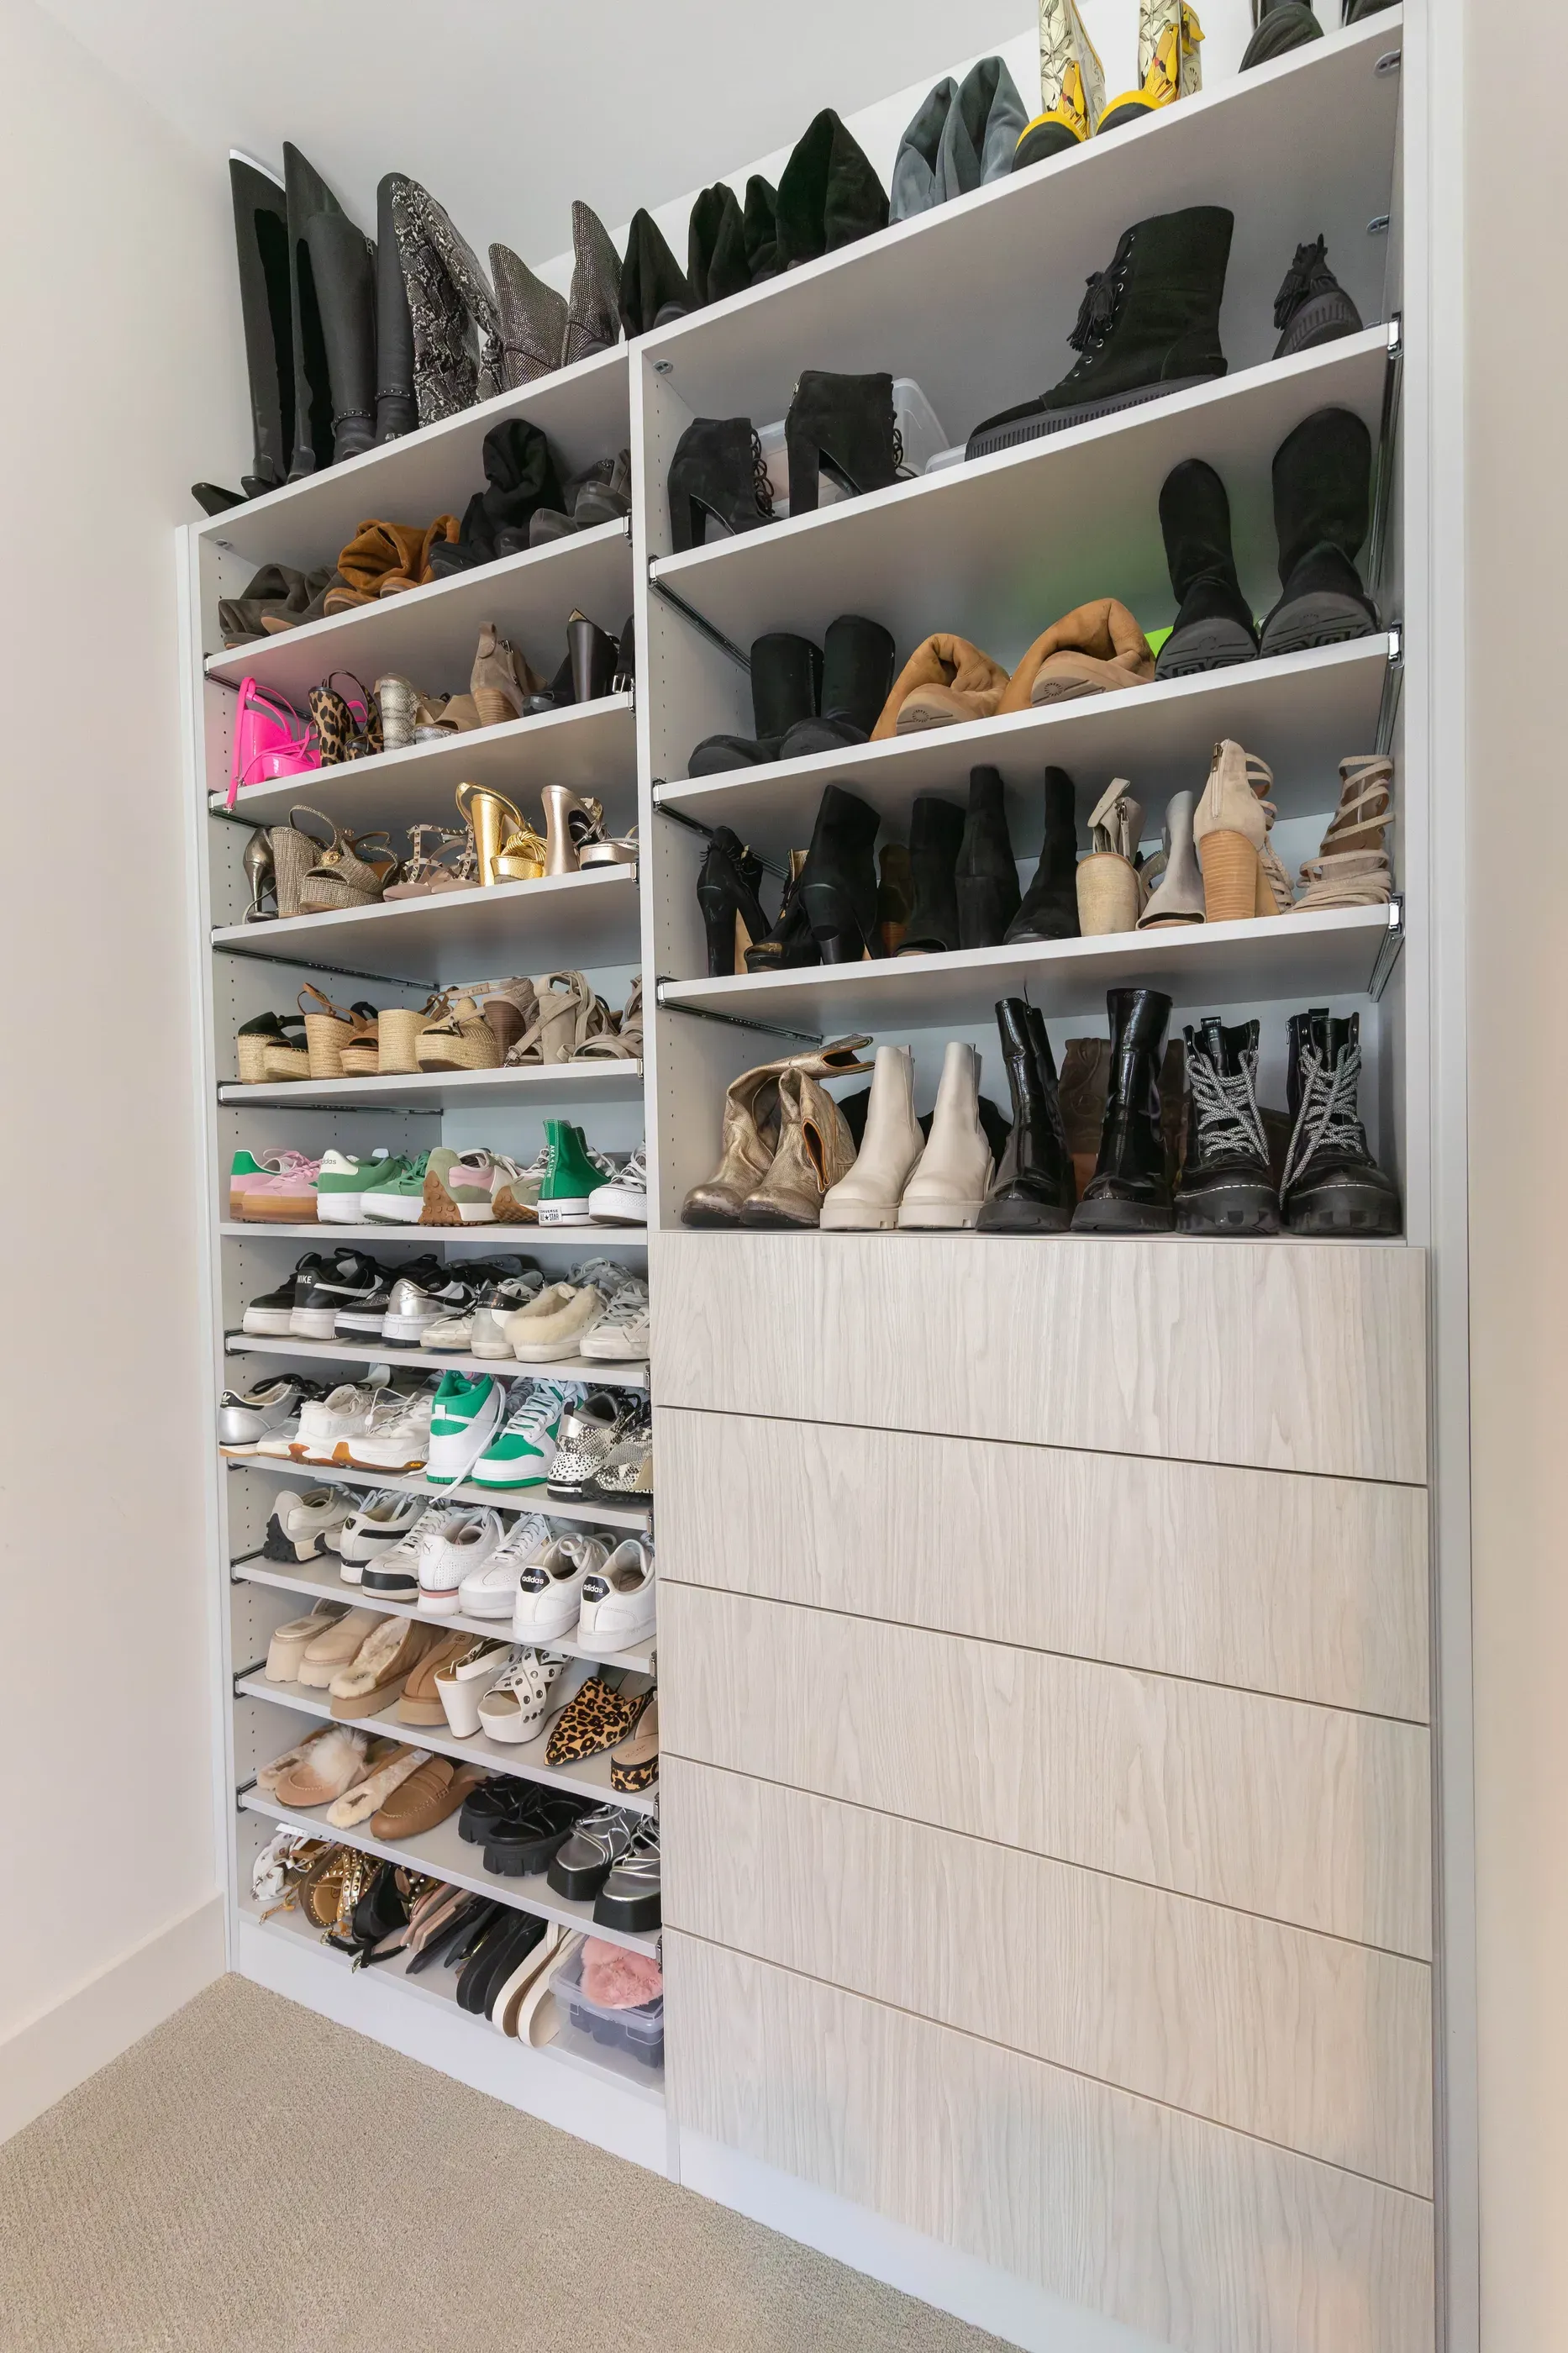
3. Use your seasonal storage.
A custom closet definitely qualifies as storage, but a dream closet is never a storage unit. Custom closet organization features help determine what you’re keeping in view year-round. Use these tips to handle seasonal storage for everything else.
When you’re low on space:
-
Seal items away in a guest room closet, under-bed bins, or a climate-appropriate garage or attic.
-
Avoid storing out-of-season clothing in damp or leaky basements and garages.
-
Cardboard boxes aren’t good enough and can attract pests. Clean the items to be stored, zip them into breathable garment bags, and double-bag with plastic, vacuum-sealed bags.
Bottom line: If you don’t want to put effort into properly storing that snow suit, it should probably go to the thrift store.
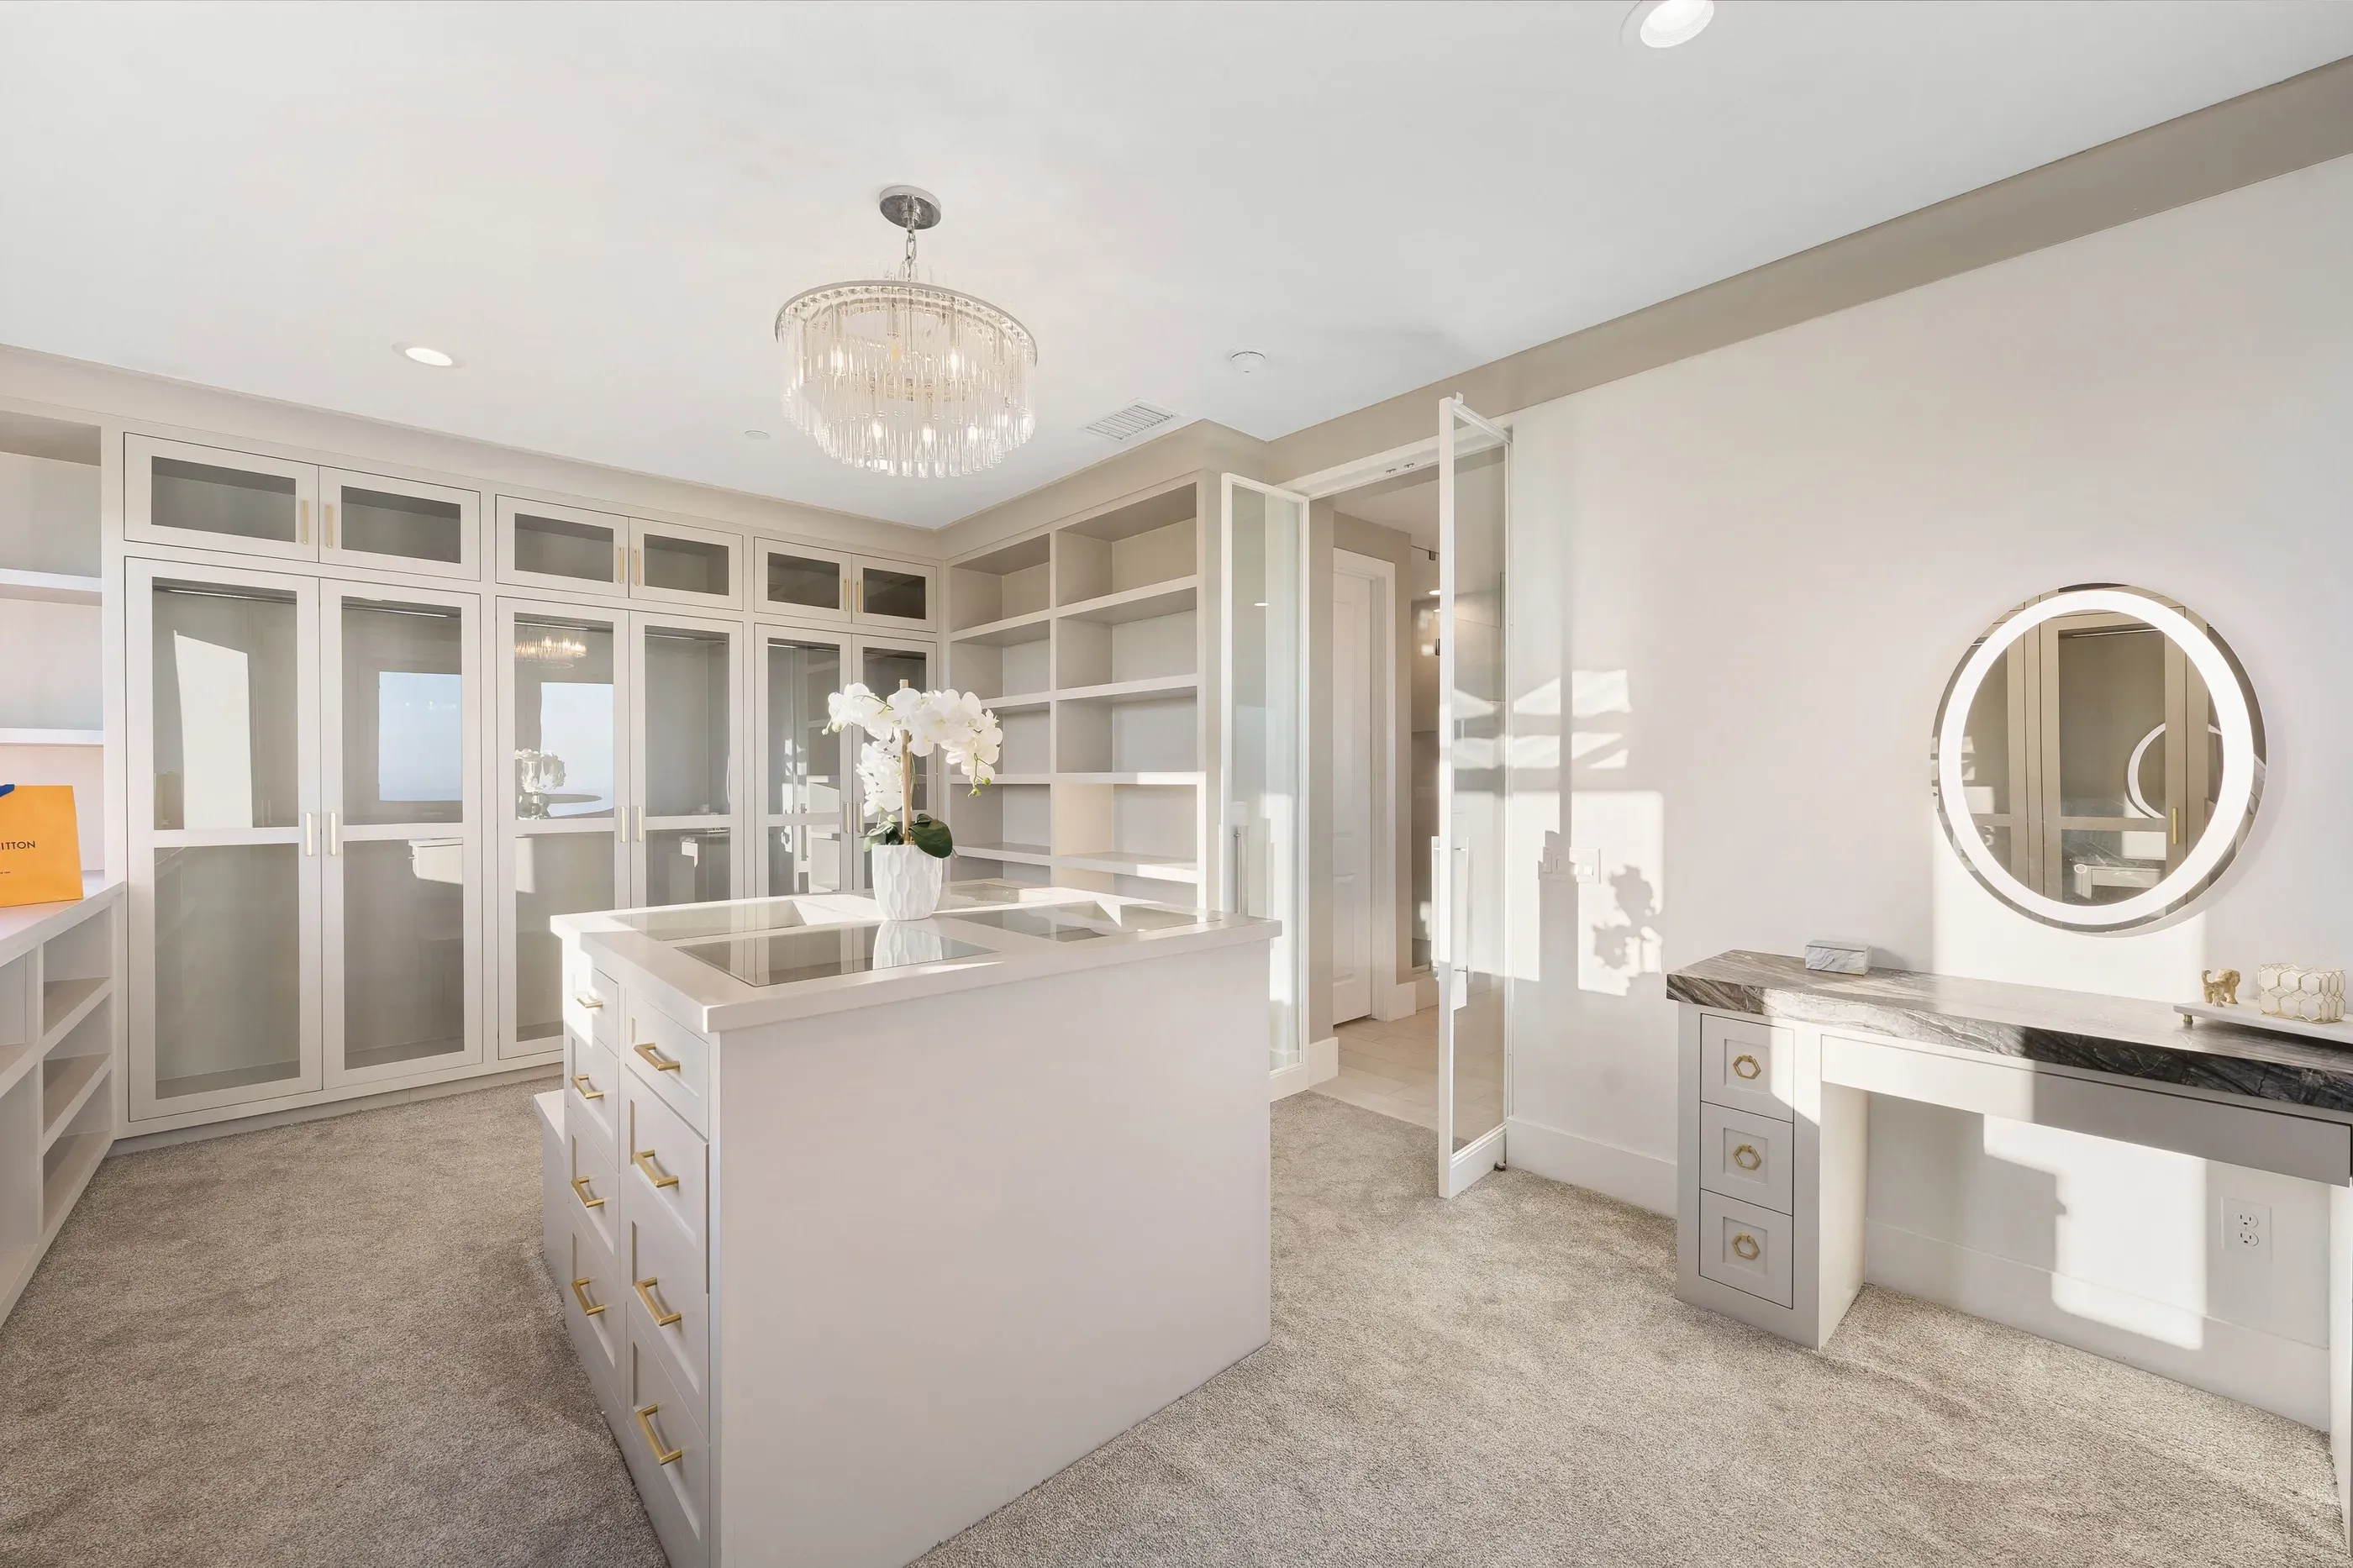
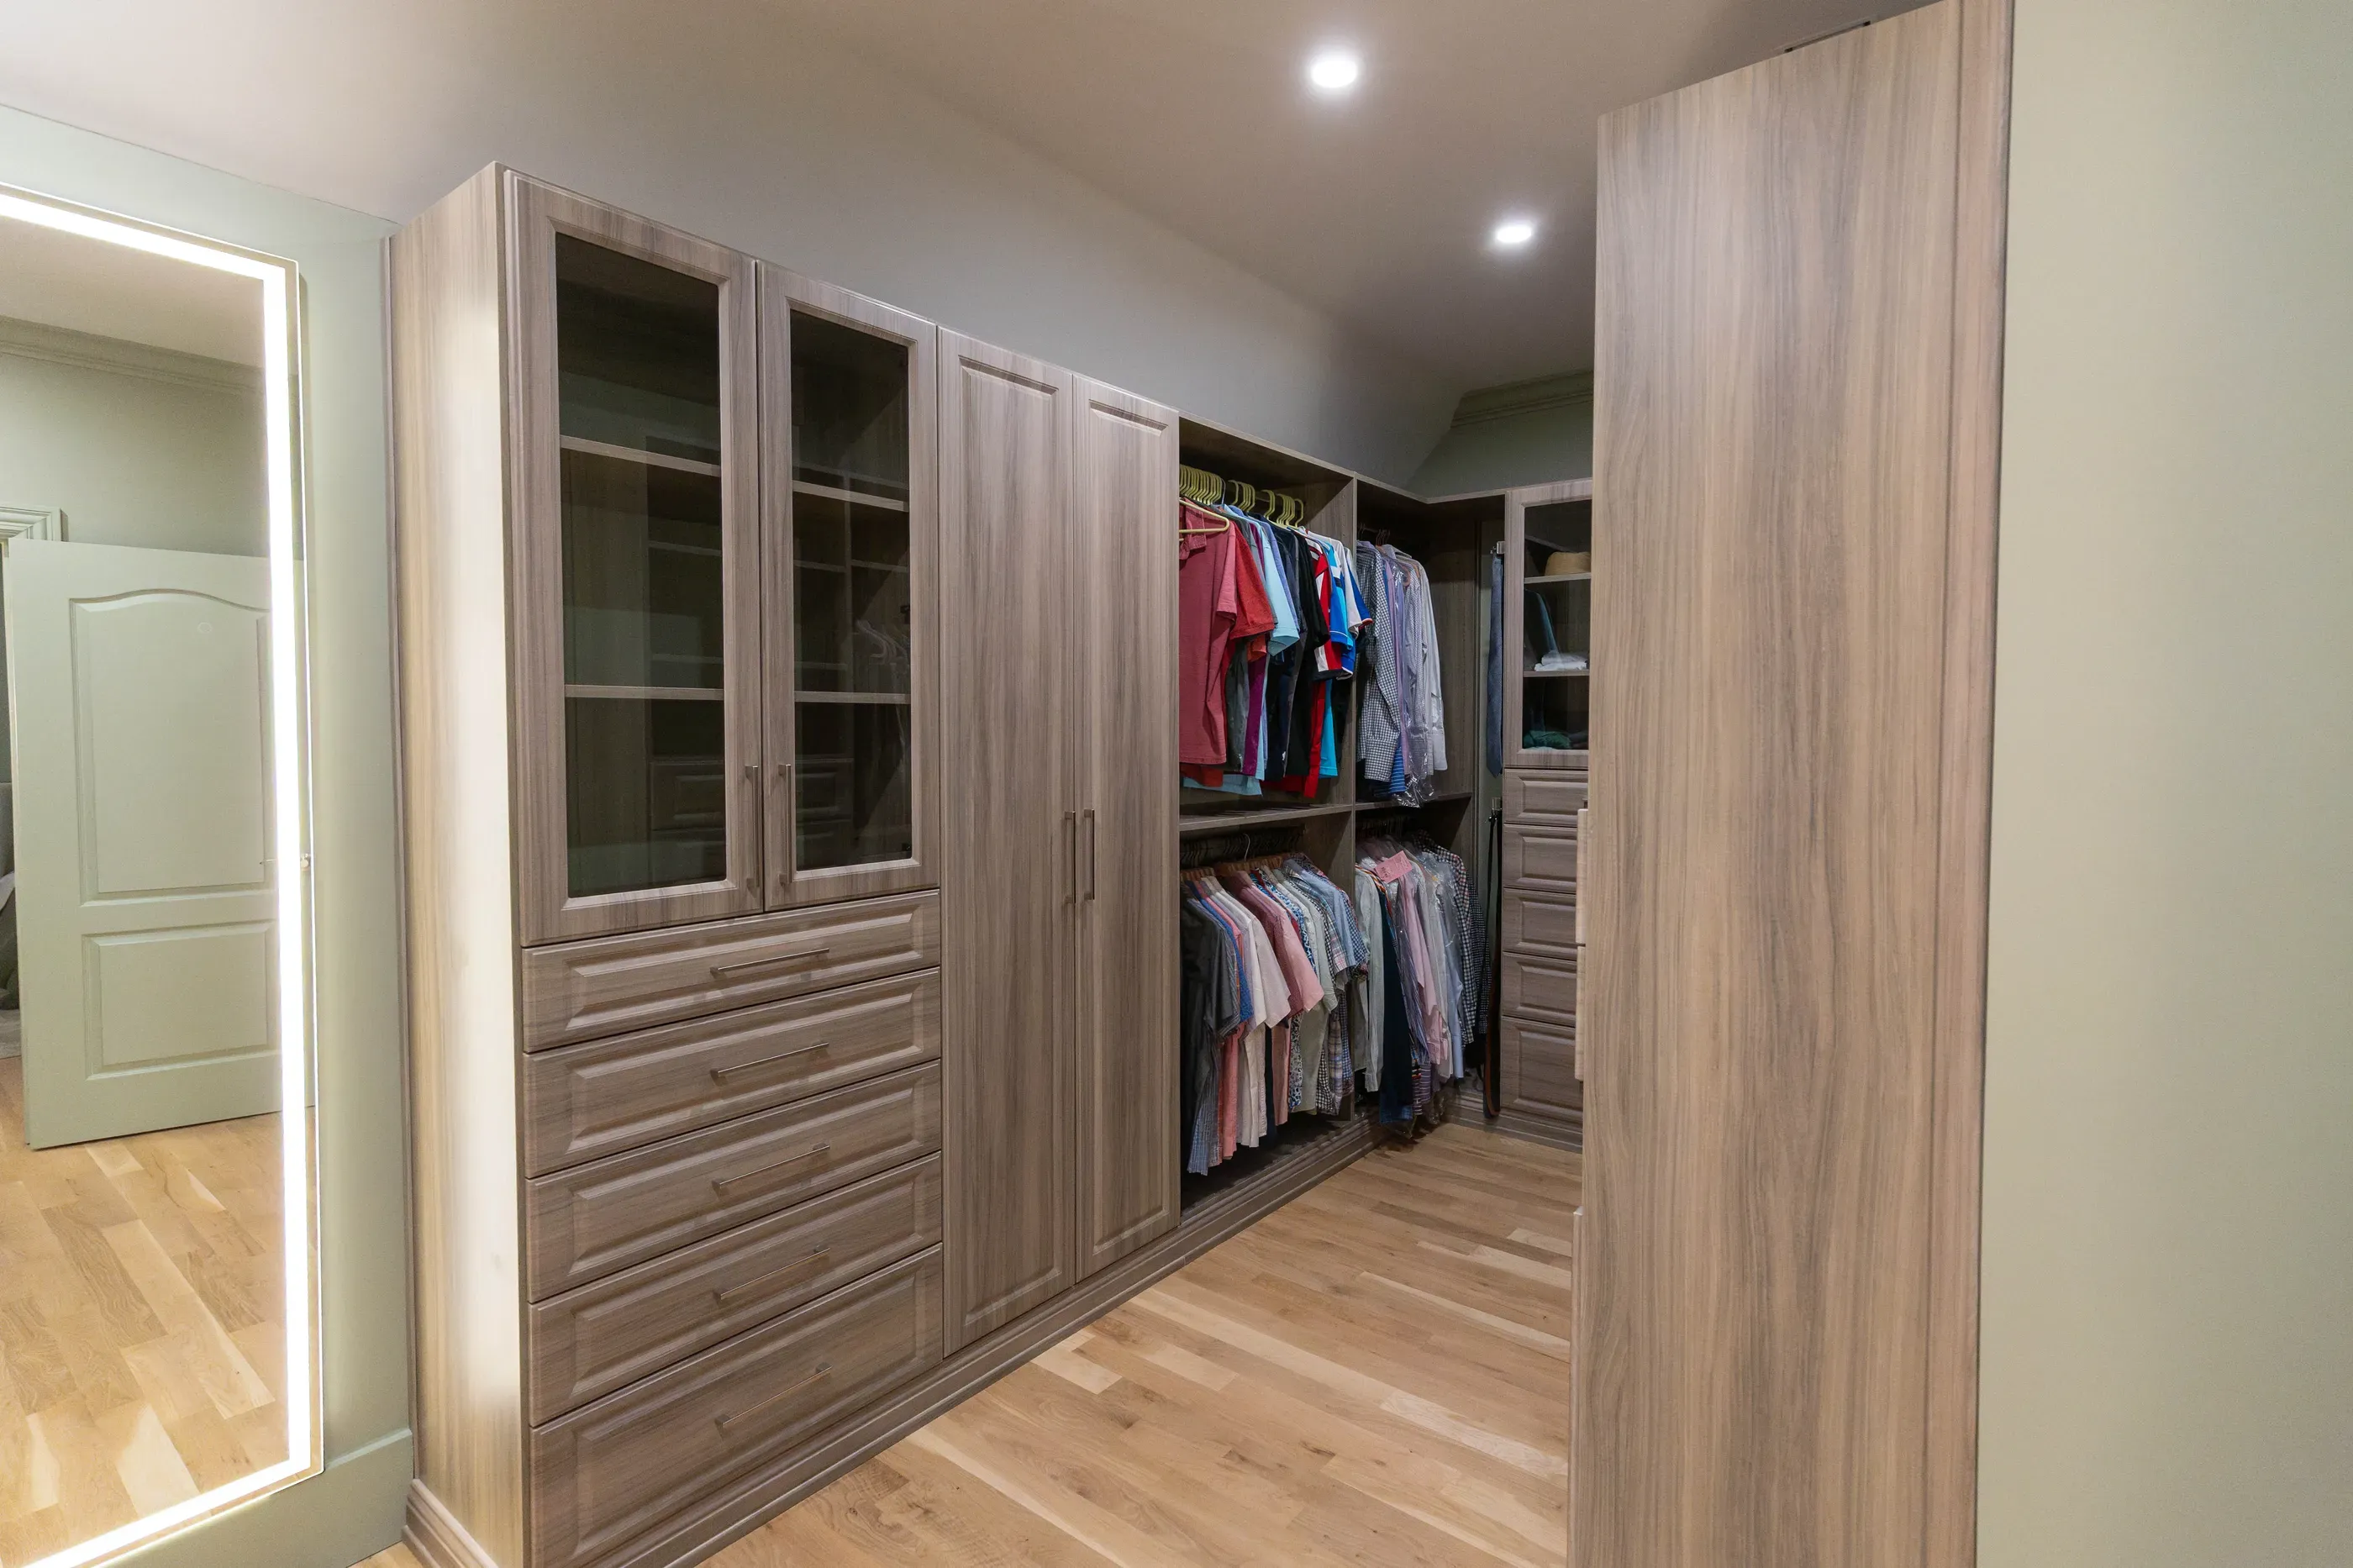
When your new closet includes plenty of space:
Few upgrades are more liberating than a custom closet remodel with room for everything.
-
Label bins with the contents (“summer dresses,” “winter sweaters”).
-
Use higher shelves or other less-readily-accessible areas as seasonal storage. This further heightens the visibility of your daily essentials.
-
The lower drawers of a closet island are also a good spot for seasonal stuff.
-
Use pleasantly-scented cedar blocks instead of pungent mothballs.
The Designery is still here for you after your custom closet remodel is complete.
Second-guessing your hardware? Regret not getting new flooring or organizer inserts for your jewelry? It’s never too late when you work with The Designery. Your custom closet remodel is complete when you say so. Reach back out to us for that extra finishing touch.
“The Designery did an excellent job on my closet. Everything was ordered and delivered as promised. Also, we had some unexpected commitments, and Designery was great to work with by rescheduling things around our needs. We highly recommend them.”
Kathryn, The Designery client