Painting is a project that most DIYers don’t mind taking on until they’re halfway through the prep. Choosing just the right palette, getting that custom mix, creating clean lines between ceilings, walls, and trim–it’s definitely not as easy as it looks.
Color drenching may simplify the process. But what is color drenching, and is it right for your room? Keep reading to find out.
What is color drenching?
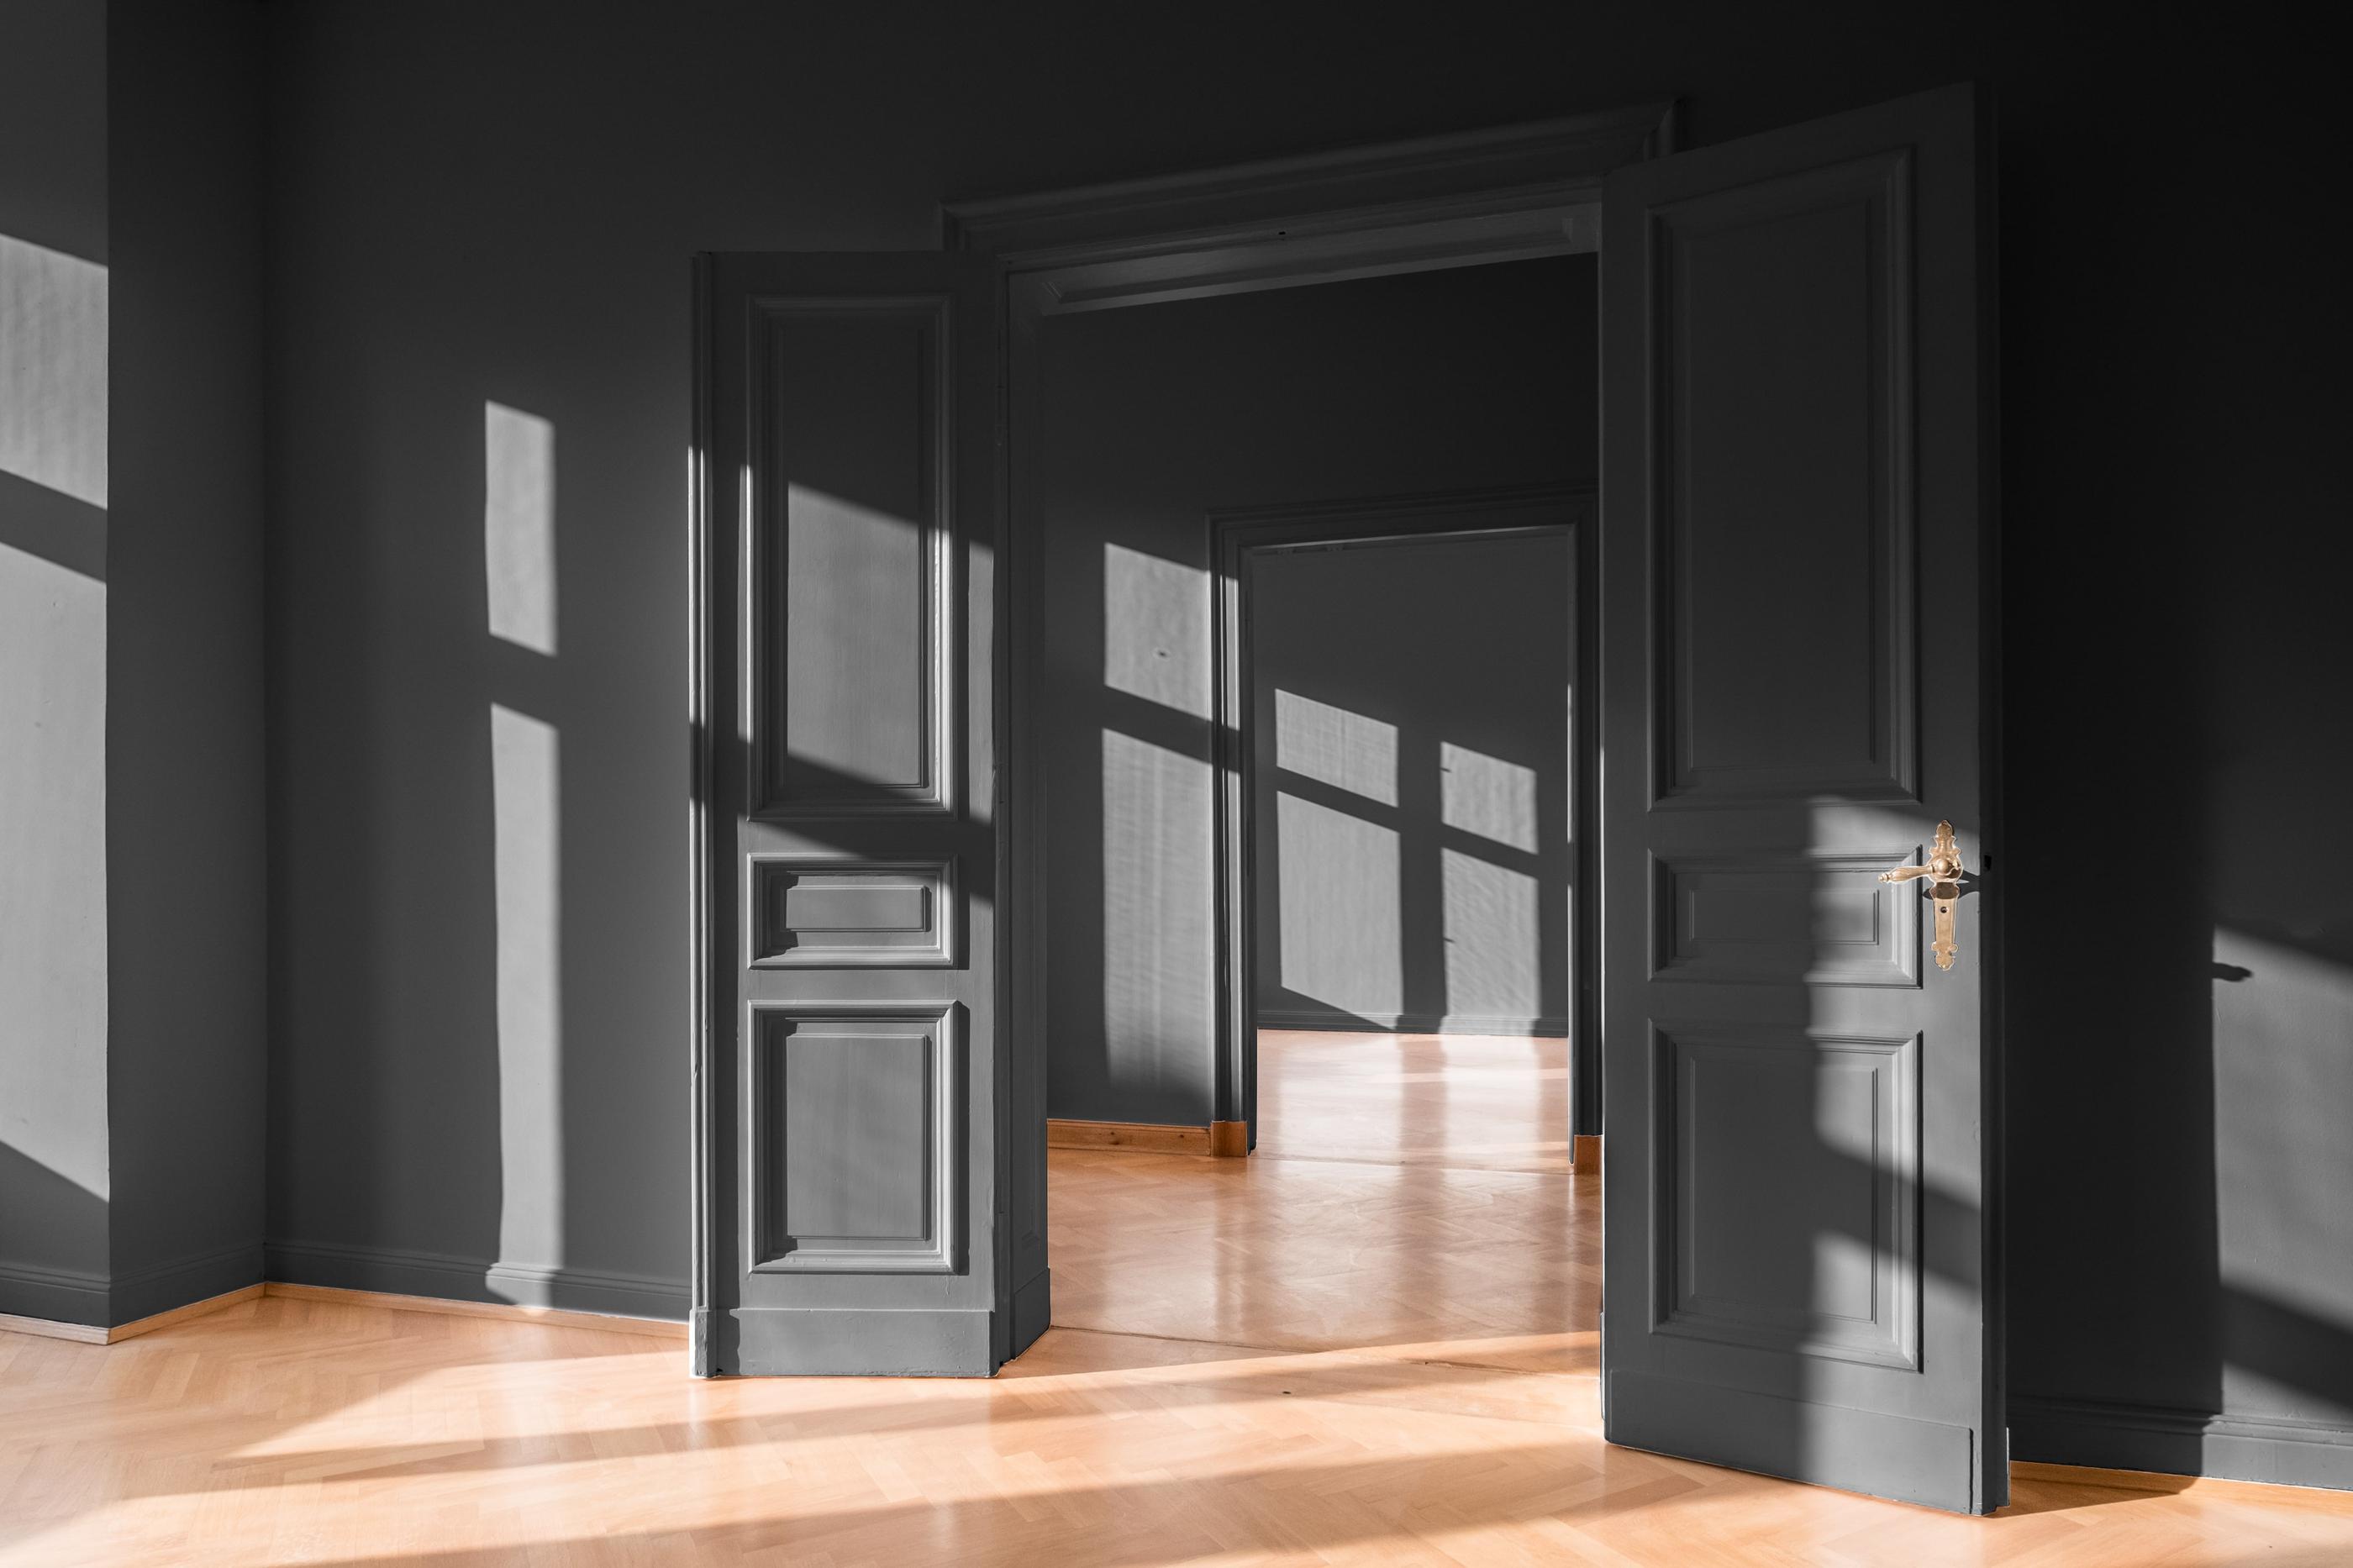
Color drenching is where we paint every architectural feature of a room the same color. The walls, ceiling, trim, baseboards, built-ins, any molding, and even the doors will be one hue.
Some do break up the visual by using separate finishes. For instance, satin walls and ceilings with flat paint on doors and semi-gloss on trim and baseboards.
Misconceptions about color drenching
Before you buy three buckets of chartreuse semi-gloss and get to work, let’s break down some misconceptions about this concept.
Color drenching is just a fad.
The term color drenching is a trend. Like other design trends, the practice itself goes back centuries. It disappears and reappears in the collective design consciousness every so often. Bold monochrome looks and minimalist calm alike are present throughout history, made possible by what we currently call color drenching.
It overwhelms a room.
Proponents of color drenching find it’s often the opposite. Reducing the visual noise of separate features by painting them all one color can create a harmonious canvas for layering on personal style and character.
Color drenching is lazy.
We’re not going to lie. Painting chair rails, walls, and trim all one color sounds very appealing, labor-wise. However, it still requires prep. Filling in holes, sanding down, and optionally, taping out lines for paints of separate finishes.
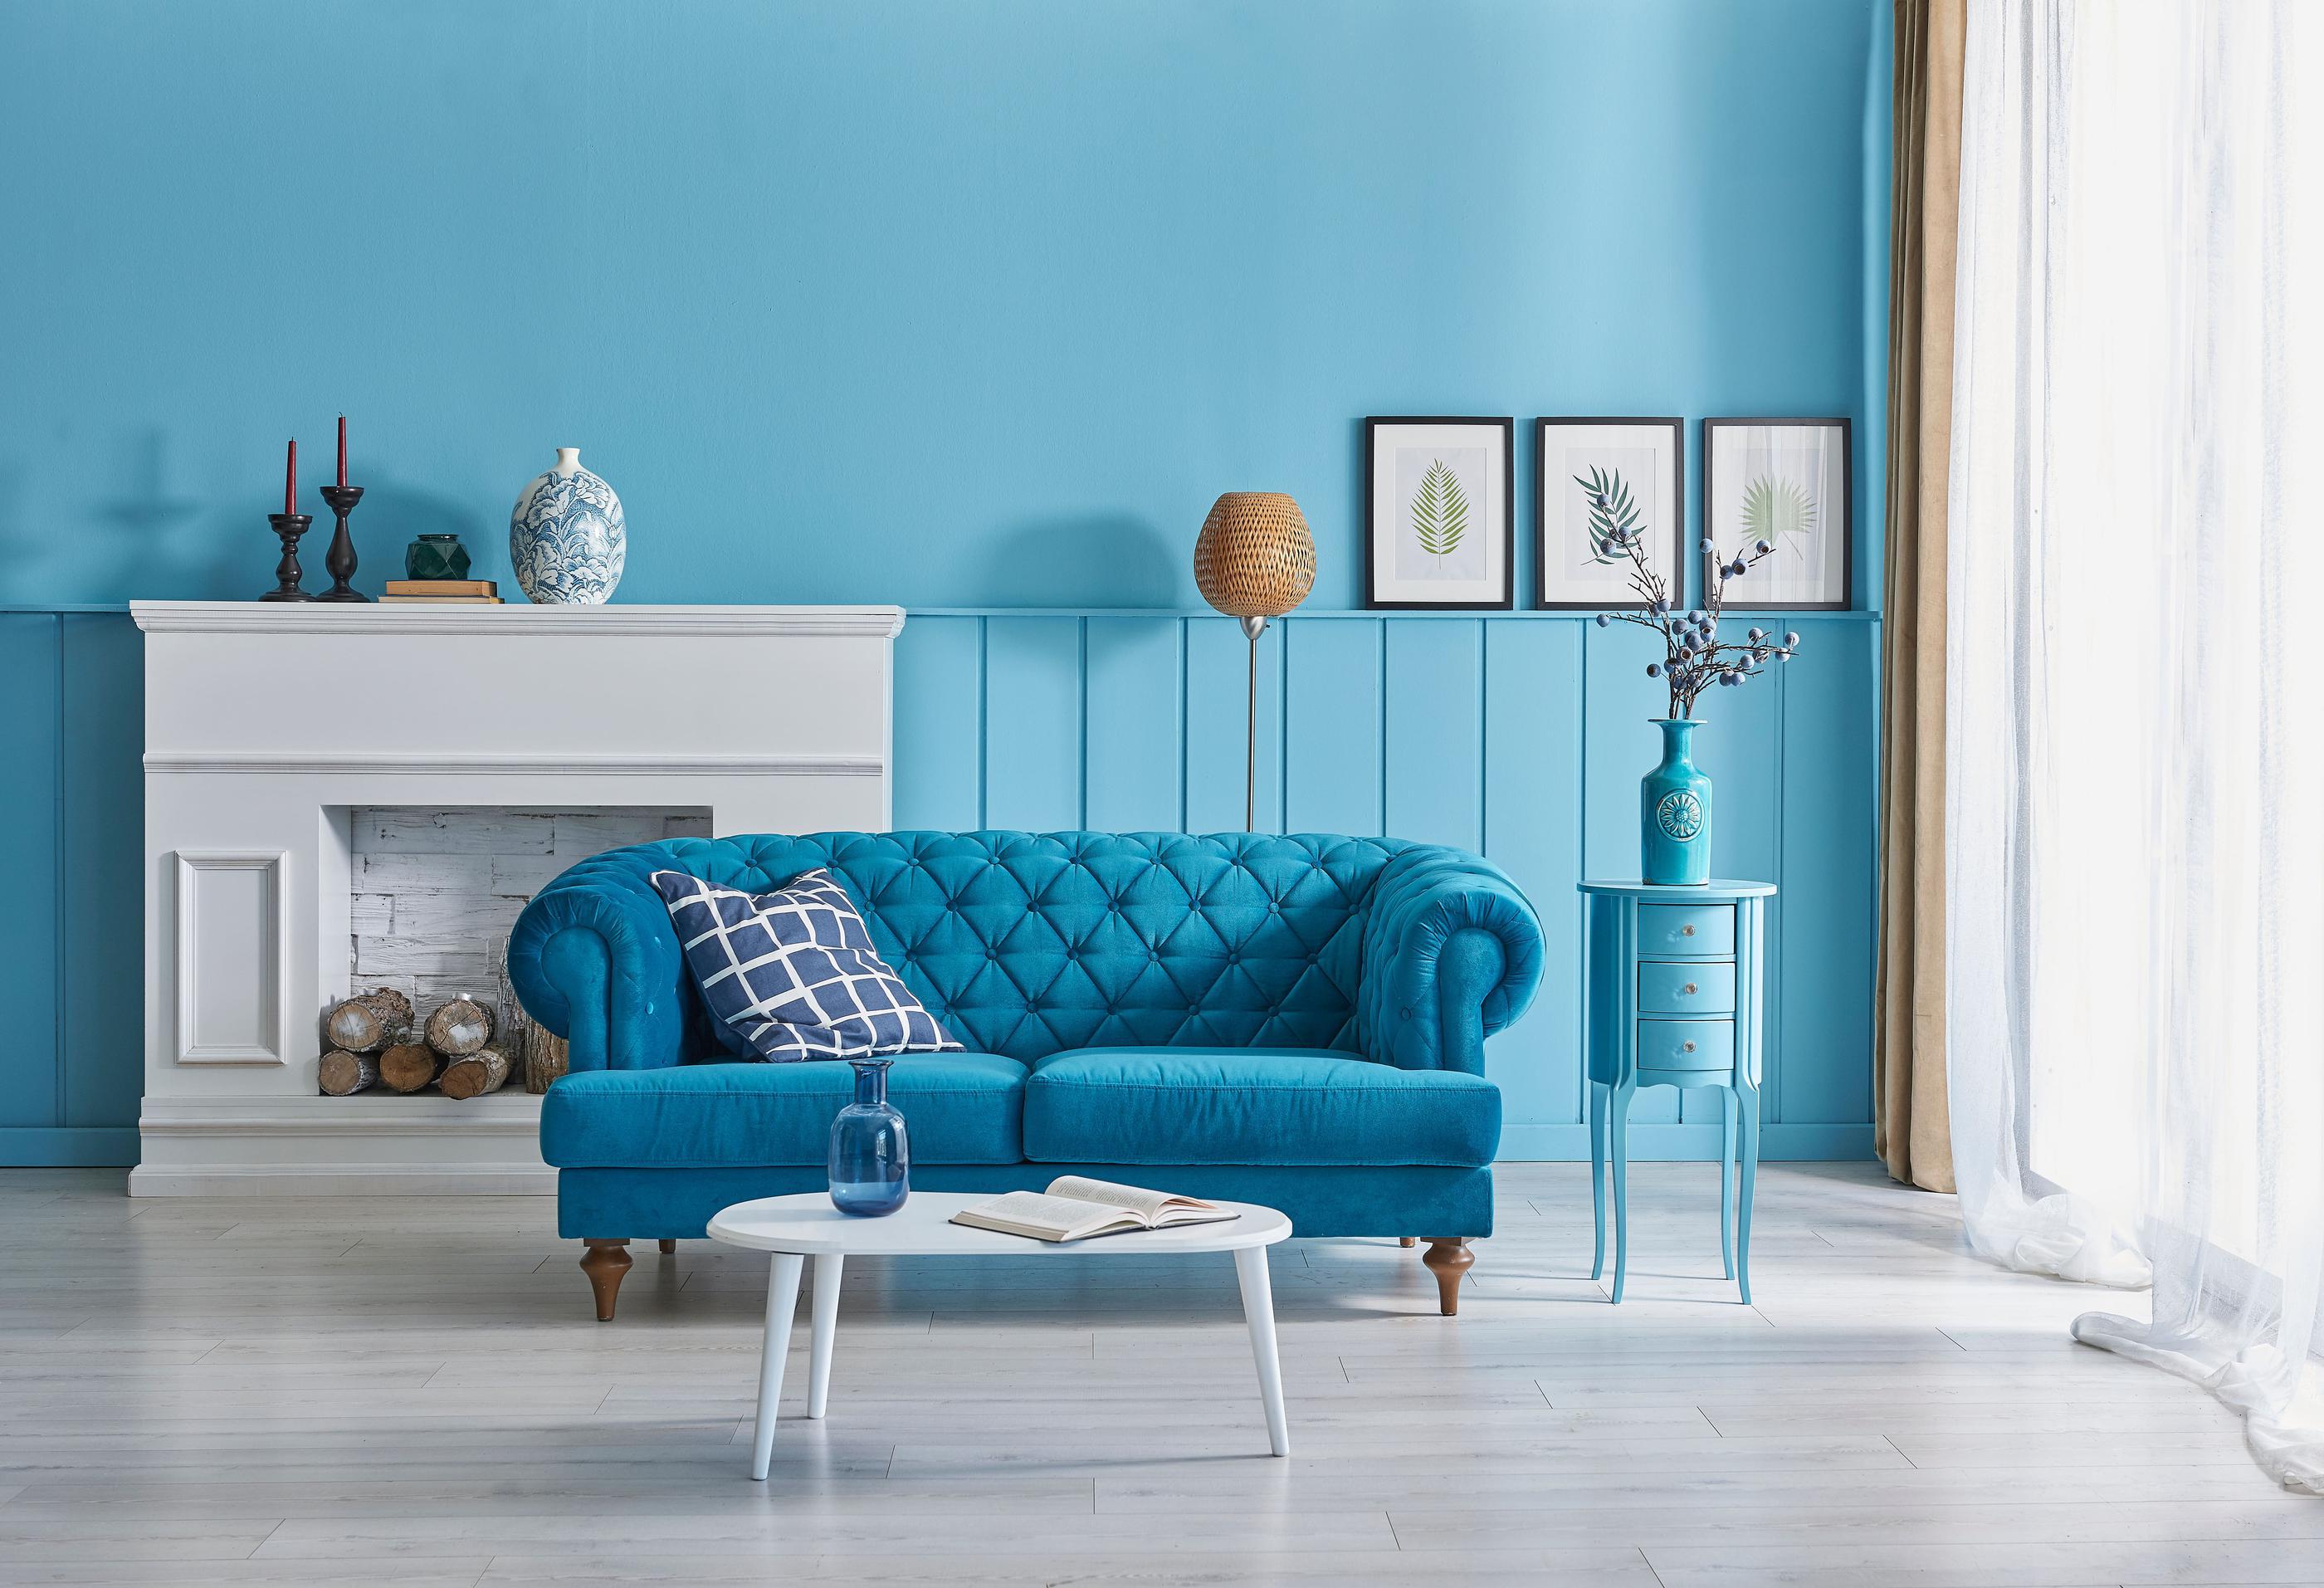
You can’t color-drench in neutrals.
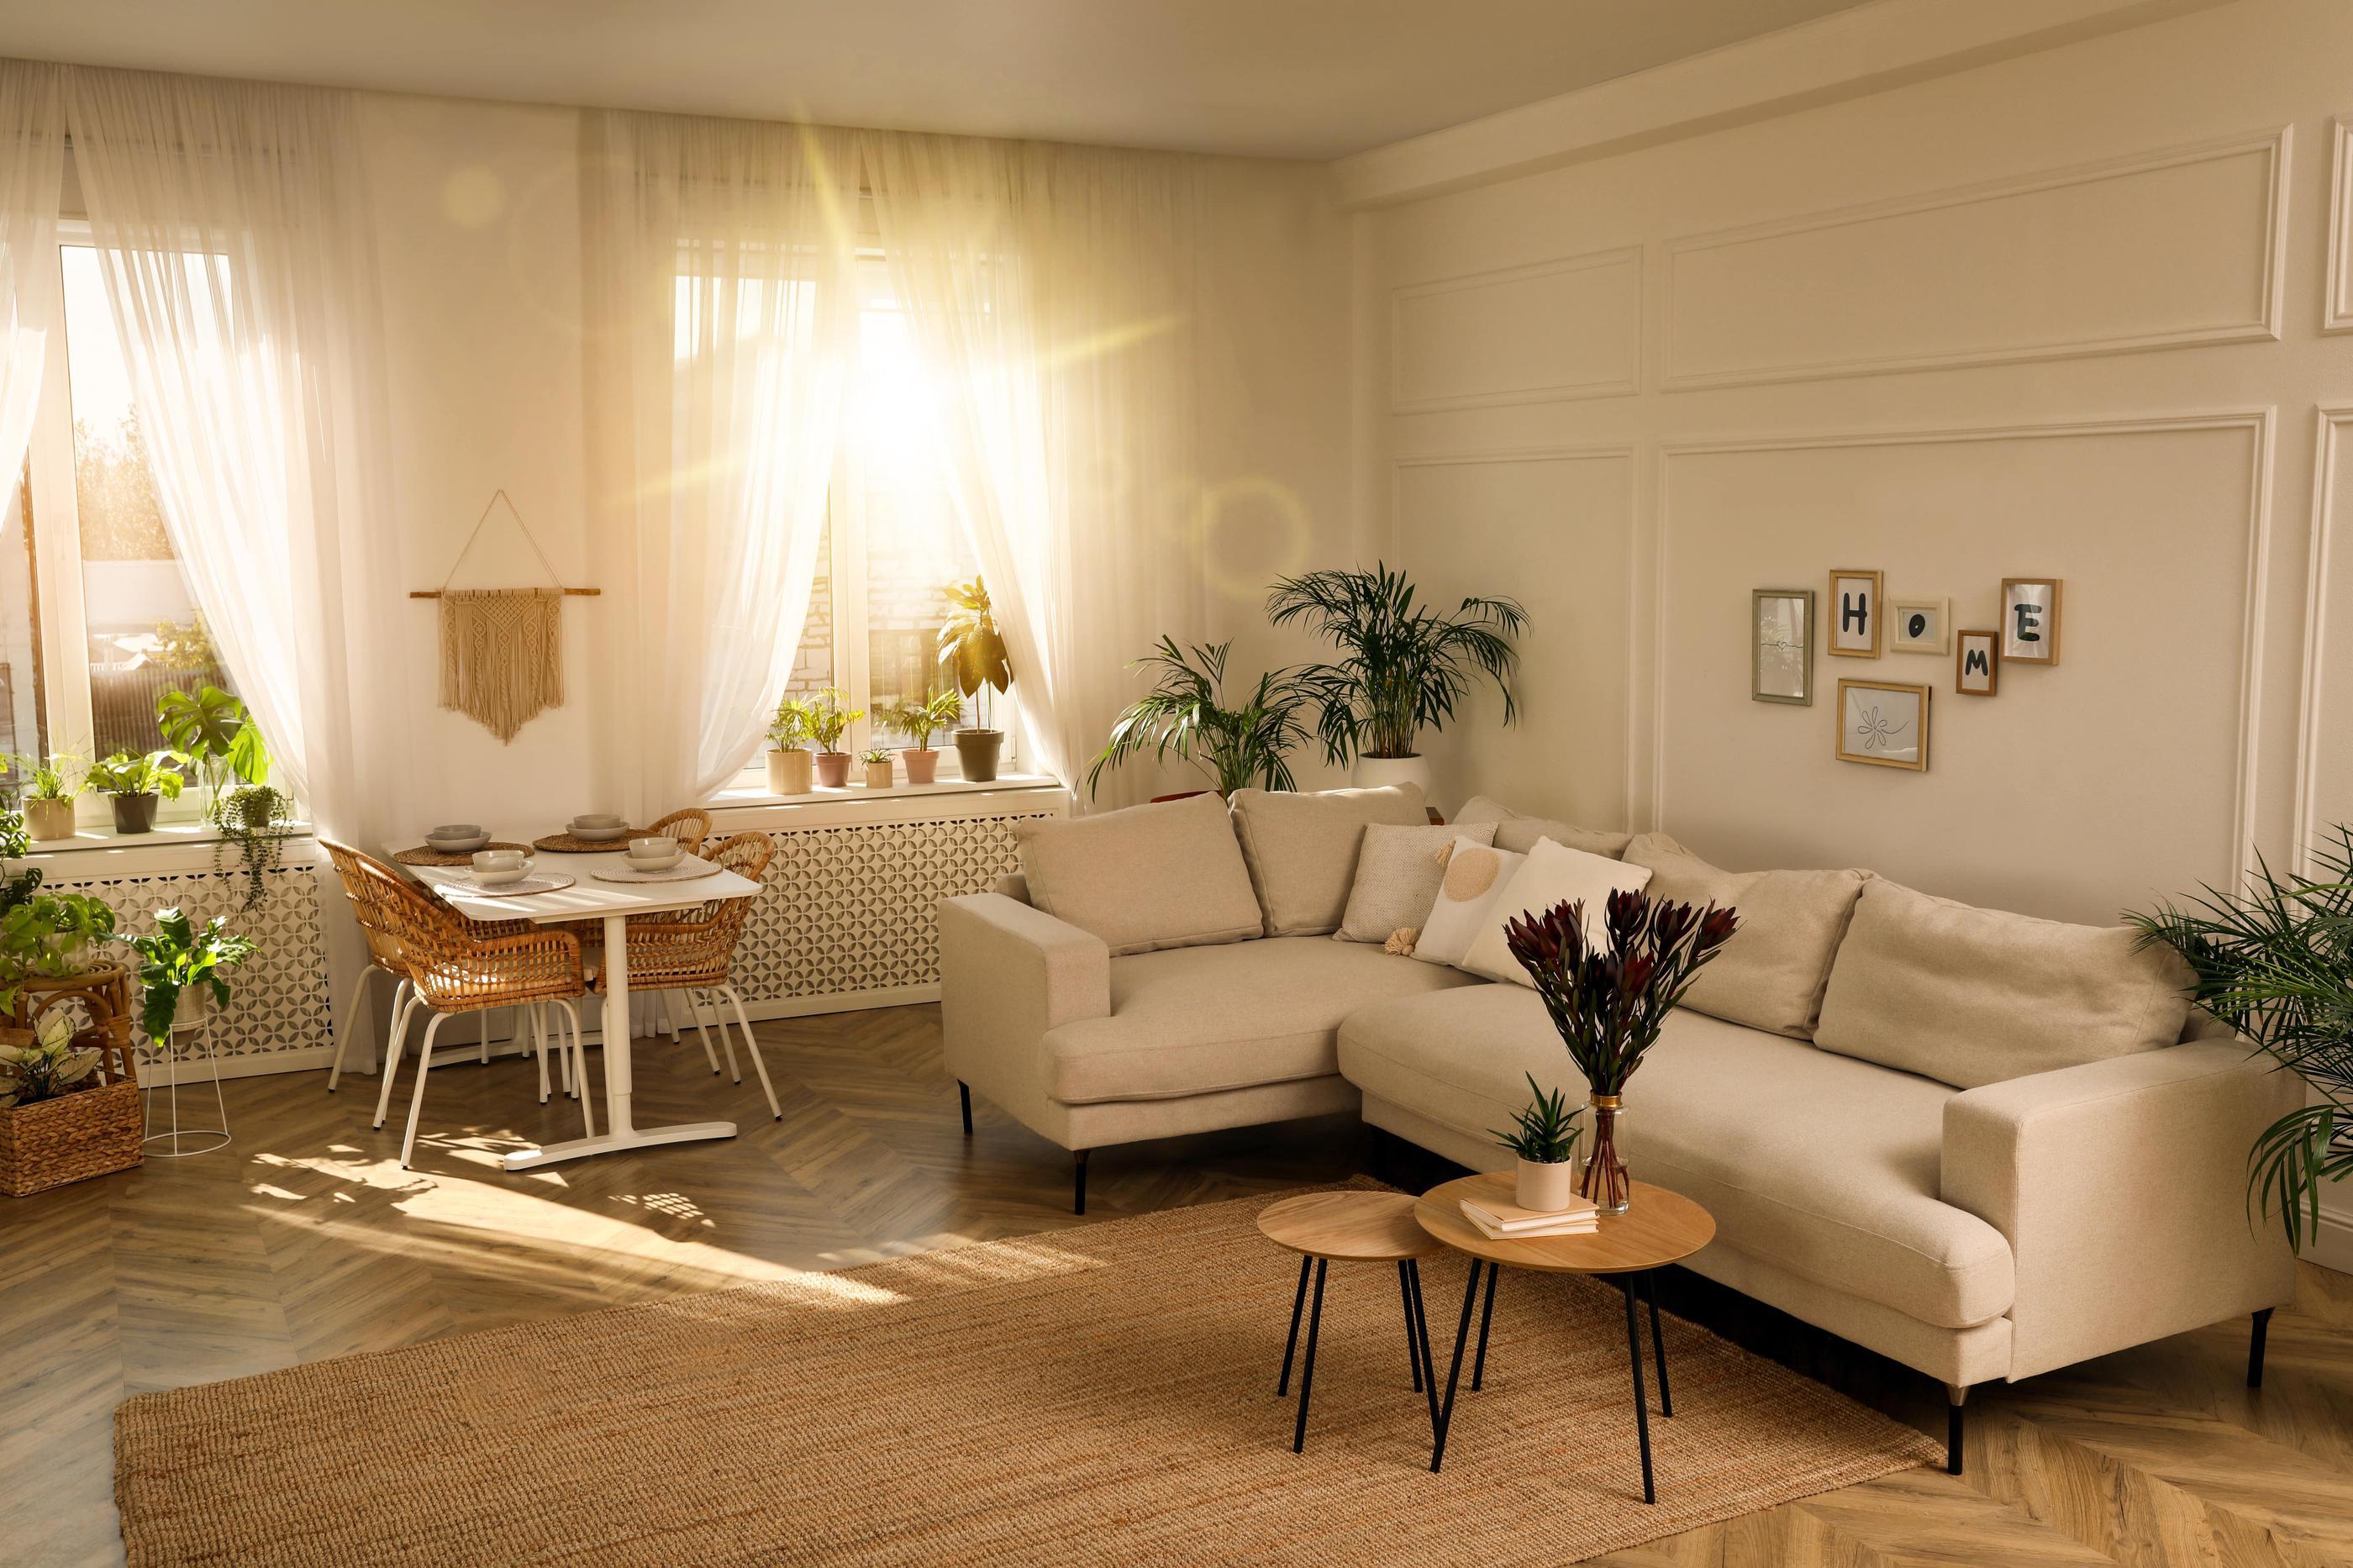
People love to drench rooms in bold colors, but white, taupe, gray, and beige are included, too. It can amp up the effect these shades give, creating a calmer, cleaner feeling.
Tips for pulling off a color-drenched design
As simple as it sounds, successful color drenching involves objective thinking and planning. The color you’re thinking of may not remain the top pick once you review these tips.
Carefully consider the finish
Does that ceiling look like it’s sweating? Glossy paints aren’t right for every surface. Many designers stick to a satin eggshell for larger surfaces and save the glosses for trim.
Swatch different paint finishes to see how reflective they truly are once they dry down. And remember that separate finishes aren’t even a requirement; a fully flat drench can look very elegant.
Test in all lighting first
The biggest secret to getting the most impact out of color drenching is to triple down on lighting. Unevenly-lit spaces won’t translate as well. When testing your focus color, make sure you see it at maximum brightness, dimmed down, and every phase in between.
Start in a “secondary” room
Unless you’re going neutral, color drenching may not be right for large, open-concept layouts. Begin by color-drenching a half-bath or home office first. You may find the effect too dramatic for the rooms you spend the most time in.
Be brave–it’s a commitment
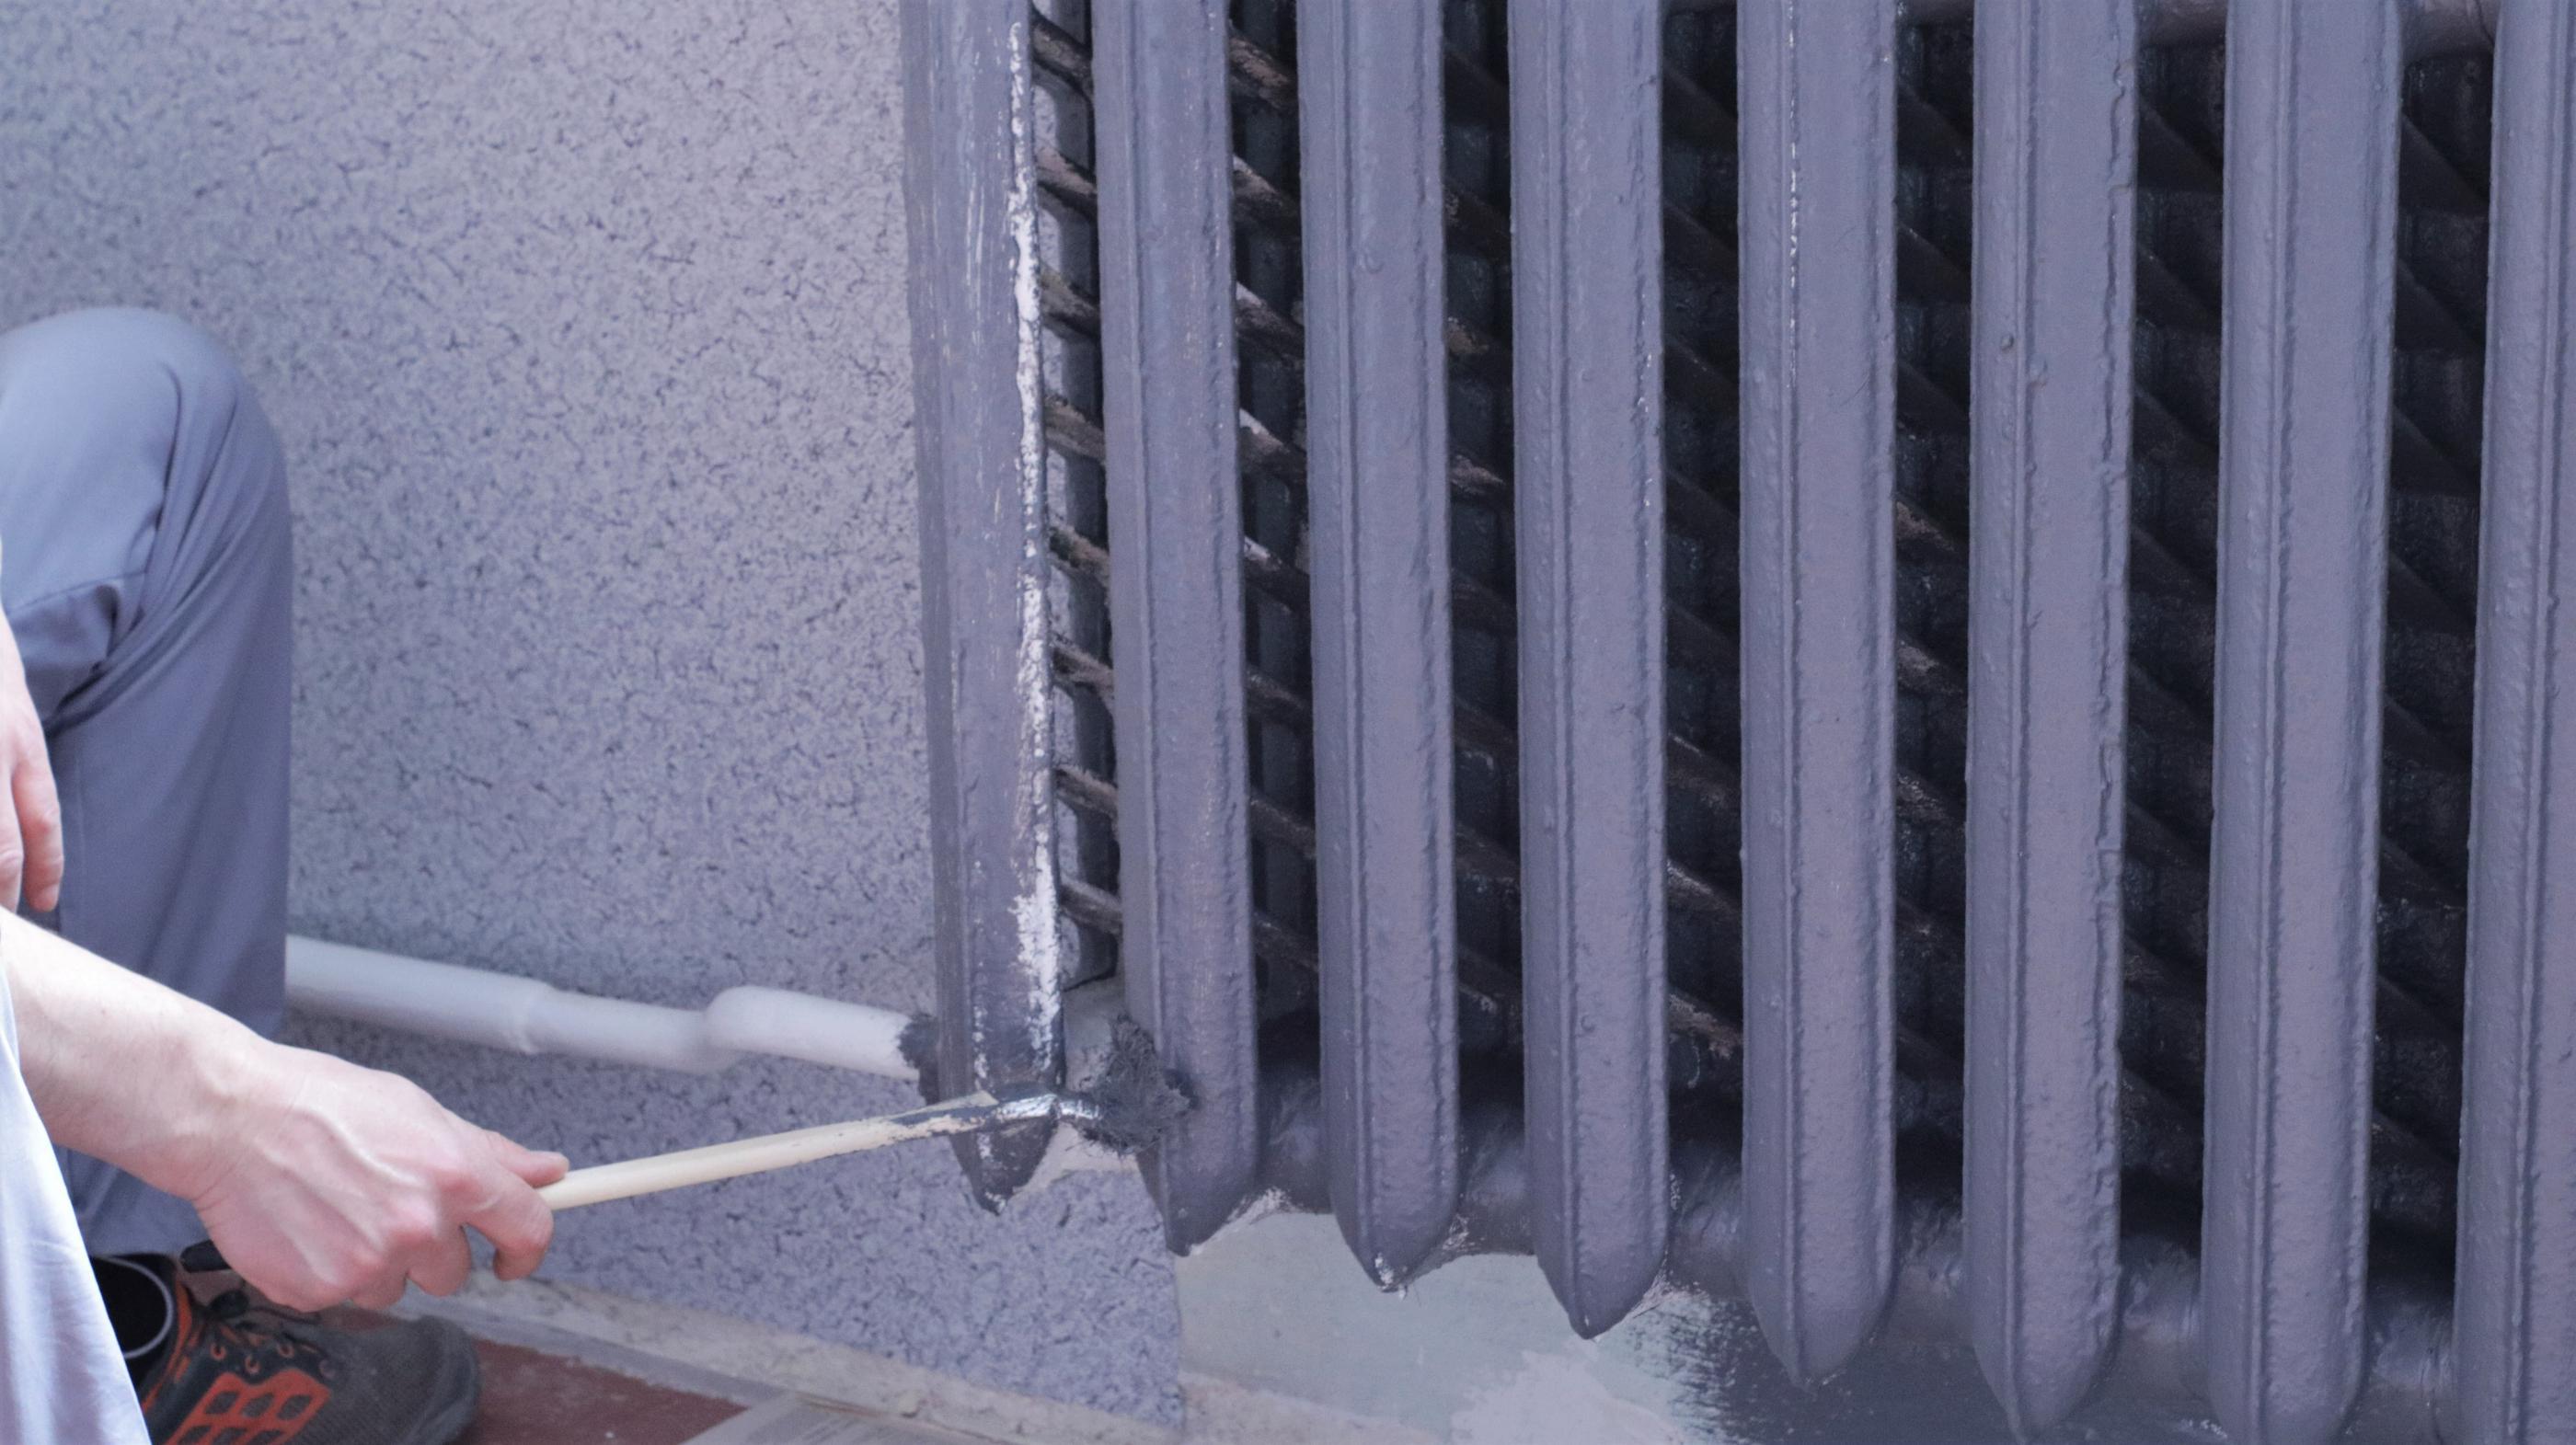
Color drenching finds us painting standout colors onto features we may not normally, such as a radiator or windowsill. Remember that this is the point of color drenching. As long as you’ve prepped the surface and committed to careful application, you’re doing it right.
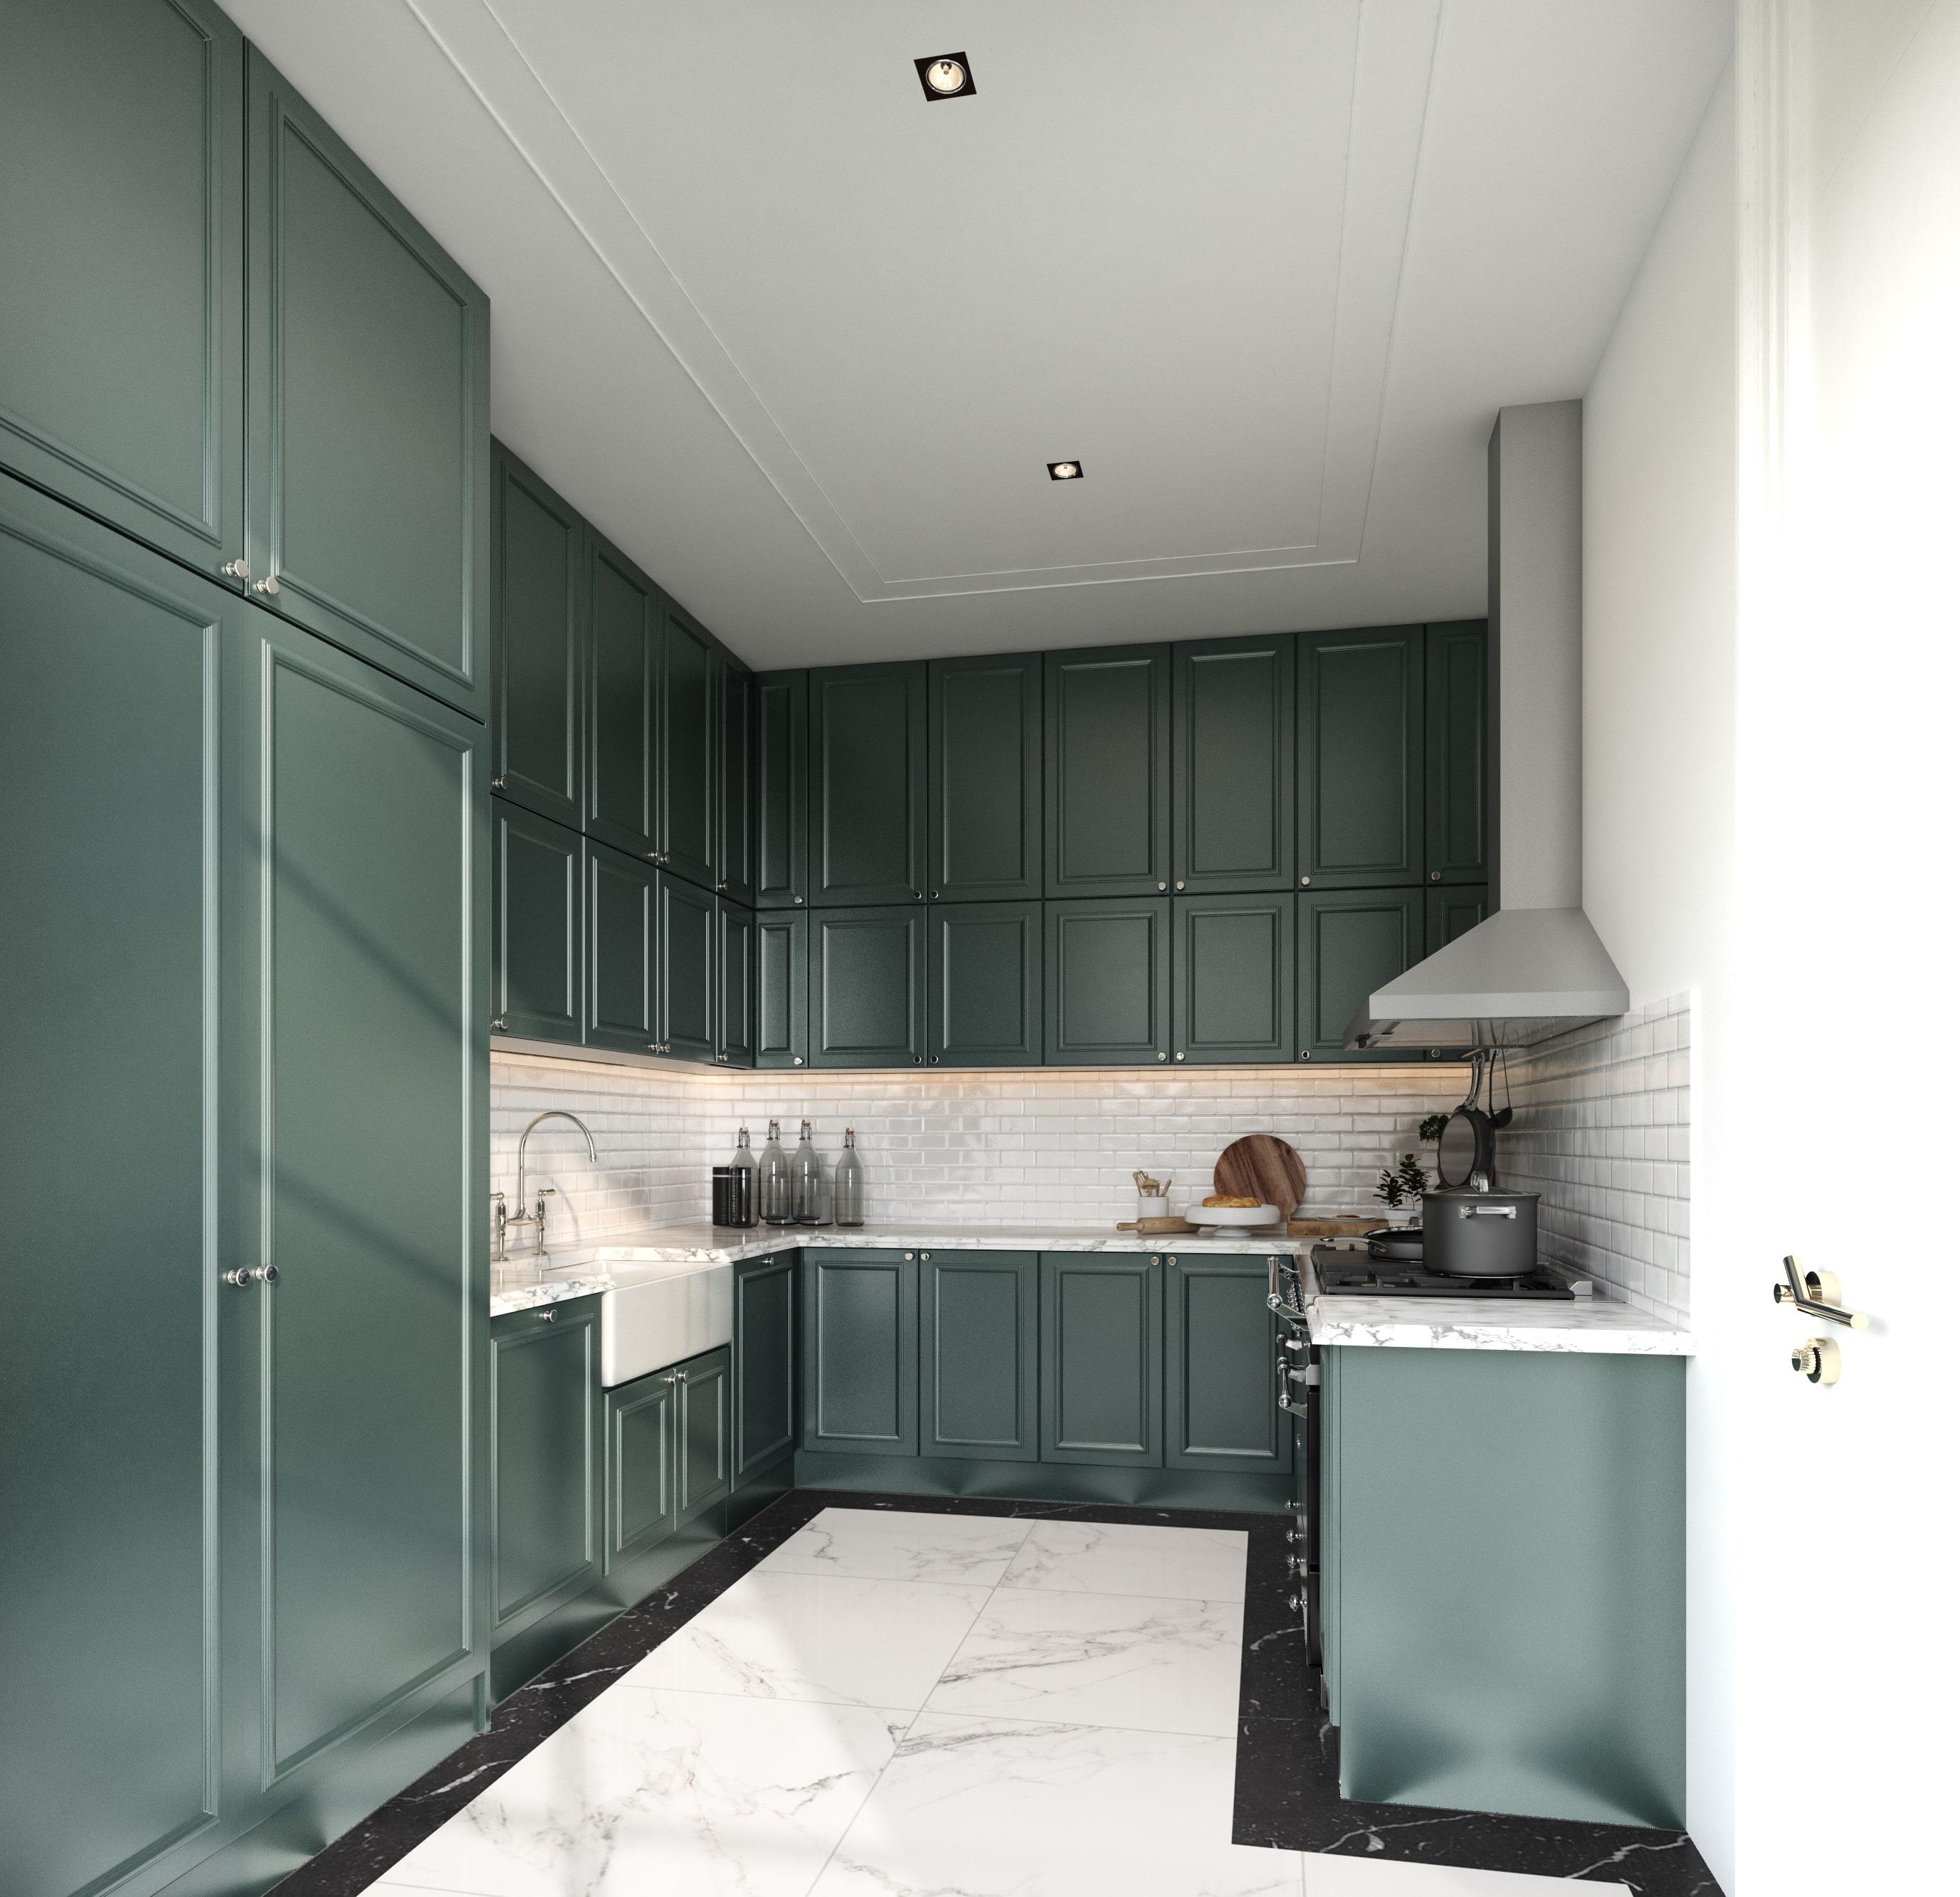
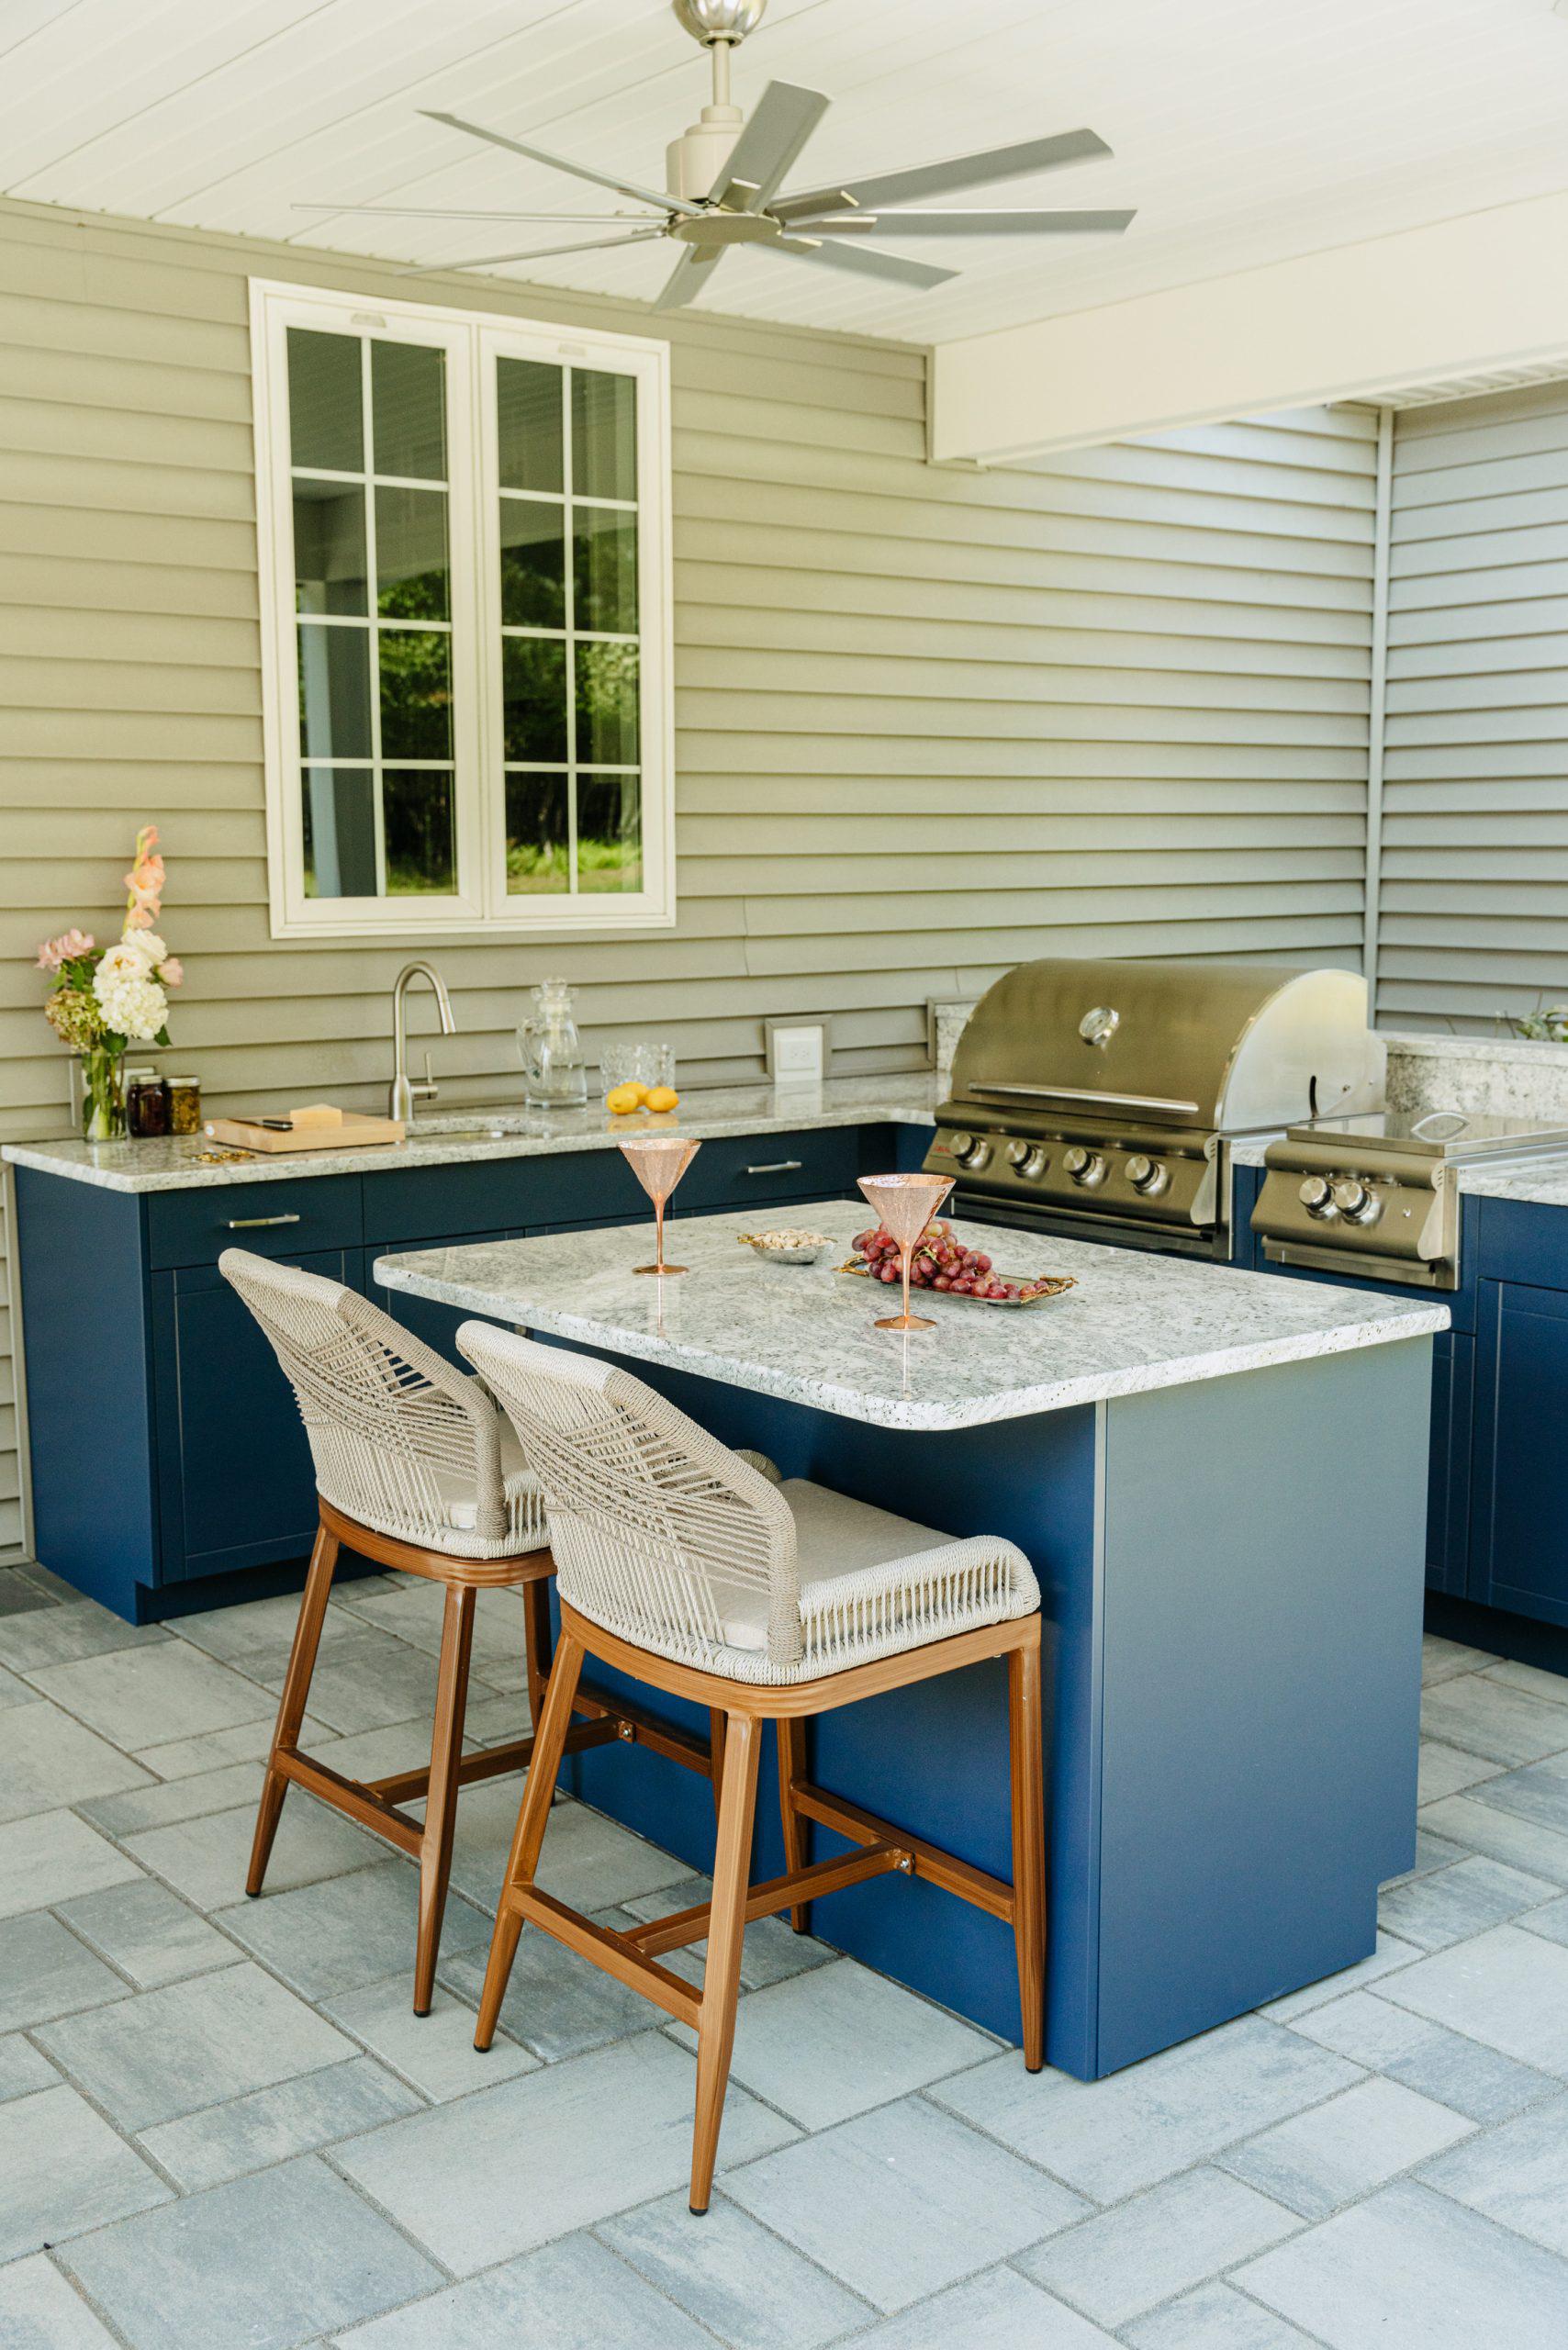
Bend the rules in the kitchen
When color-drenching kitchens, it’s not customary for the countertops or backsplashes to take on the color. Even the ceiling can differ. You can definitely go the extra mile if you’re ready, but fully integrated cabinets in a striking shade count as a drench.
When in doubt, ask a pro
Color-drenching tosses out conventional design guidance concerning color palettes and each shade’s proportions. As it pertains to paint, anyway. There are still many other features that can help make or break the results of your color-drenched room.
Hardware, cabinet design, countertops, flooring, tilework, and appliances must coexist in harmony with your color of choice. Book a complimentary consultation with a pro at The Designery to max out on the benefits of this bold design choice.